
Master Dulce de Leche Coffee: The Ultimate Sweet Brew Guide
Master dulce de leche coffee by warming the caramel first. Dissolve 1-2 tablespoons of warmed dulce de leche into 6-8 ounces of hot, freshly brewed coffee. This prevents graininess, ensuring a perfectly smooth, sweet cup every time. The exact ratio depends on your coffee’s roast and desired sweetness level.
Most recipes get the sequence backwards. They tell you to spoon cold, thick dulce de leche into the bottom of a mug and hope the coffee melts it. That’s a guaranteed path to a layer of undissolved caramelized milk solids stuck to your spoon. The warmth needs to flow the other way.
This guide covers the mechanics behind a balanced cup. We’ll look at the best coffee roasts to pair with dulce de leche’s intensity, how to adjust for iced versions, and why your choice between homemade and store-bought dulce de leche changes everything.
Key Takeaways
- Warm the dulce de leche before adding coffee. Cold dulce de leche seizes on contact with hot liquid and leaves gritty undissolved bits.
- Pair dulce de leche with a medium-dark roast coffee. The caramel and chocolate notes in the roast complement the dulce de leche, while a light roast’s bright acidity will clash.
- Use a 1:6 ratio by volume as a starting point. That’s about 1.5 tablespoons of dulce de leche to 8 ounces of coffee. Adjust in half-tablespoon increments.
- For iced coffee, make a dulce de leche syrup by thinning it with a little hot water or milk first. Pouring thick dulce de leche over ice guarantees a clumpy mess.
- Homemade dulce de leche, simmered for three hours, has a deeper, less cloying sweetness than most canned versions. The trade-off is a two-week fridge life once opened.
What Is Dulce de Leche, Really?
Dulce de leche is a thick, caramelized milk confection made by slowly simmering sweetened condensed milk until the sugars brown and the milk solids undergo the Maillard reaction. The result is a spreadable paste with notes of toffee, butterscotch, and cooked milk, distinct from pure caramel made from sugar alone.
You find it canned in the Latin foods aisle. The texture ranges from a soft, pourable sauce to a firm paste you can slice. This variance matters for your coffee. A runny sauce incorporates easily. A firm paste needs a head start with some warmth.
The flavor profile is more complex than mere sweetness. It carries the taste of reduced, caramelized dairy. This is why it pairs so well with coffee’s own roasted notes. It’s a different beast from a simple sugar syrup or even a brown sugar sweetener. Brown sugar adds molasses and warmth. Dulce de leche adds fat, protein, and a cooked-milk depth that changes the mouthfeel of your drink entirely.
TL;DR: Dulce de leche is sweetened, caramelized milk, not just a caramel syrup. Its dairy content and thickness require a specific preparation method for coffee.
The Dulce de Leche Coffee Ratio That Doesn’t Cloy
Start with a 1:6 ratio by volume. For an 8-ounce cup of coffee, use roughly 1.5 tablespoons of dulce de leche. This is a baseline, not a rule.
The variable is your coffee’s roast level. A dark, bitter espresso can handle two full tablespoons. A light, acidic pour-over will taste muddied and cloying with more than one. The dulce de leche’s job is to complement, not overwhelm.
Common mistake: Using equal parts dulce de leche and coffee for a “rich” drink. The dairy and sugar overload masks all coffee flavor, resulting in a warm, sweet sludge that coats your mouth. You’ll finish half the cup.
Here is how the ratio shifts with your brew method:
| Brew Method | Coffee Character | Dulce de Leche Start Point | Risk If Too Much |
|---|---|---|---|
| Espresso / Moka Pot | Concentrated, bold, bitter | 1 tbsp per 2 oz shot | Becomes a dessert topping, loses all espresso bite |
| French Press | Full-bodied, oily, earthy | 1.5 tbsp per 8 oz cup | Turns heavy and syrupy, accentuates silt |
| Drip / Pour-Over | Clean, bright, nuanced | 1 tbsp per 8 oz cup | Obscures delicate origin notes (fruit, floral) |
| Cold Brew | Smooth, low-acidity, sweet | 1 tbsp per 8 oz concentrate | Can make an already sweet drink taste saccharine |
The adjustment process is simple. Make your cup with the starting ratio. Stir for a full 30 seconds. Taste. If the coffee’s character is still clear but pleasantly sweetened, stop. If the coffee taste is buried under dairy sweetness, add a splash of hot coffee to dilute. If it’s not sweet enough, add more dulce de leche in half-tablespoon increments, warming it first.
TL;DR: Use 1.5 tablespoons of dulce de leche per 8 ounces of coffee as a starting point. Increase for darker roasts, decrease for lighter ones. The goal is a sweetened coffee, not a coffee-flavored dessert.
Why Your Coffee’s Roast Level Matters
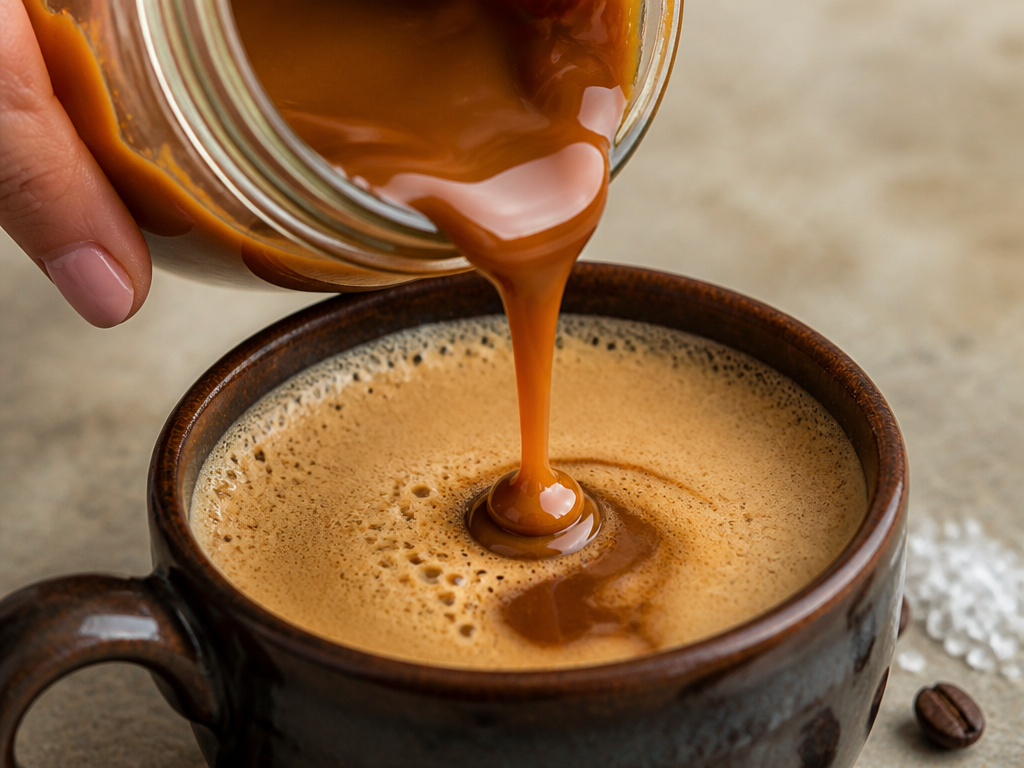
Dulce de leche has strong caramel and cooked milk flavors. It needs a coffee that speaks the same language.
Light roast beans highlight origin characteristics—bright acidity, floral notes, citrus. Dulce de leche smothers those. It’s like putting a rich gravy over a delicate piece of steamed fish. The flavors fight. A light roast will also taste more sour when sweetened this way, because the dairy fat amplifies the perception of acidity.
Medium-dark roasts are the sweet spot. They have developed chocolate, nut, and caramelized sugar notes that harmonize with the dulce de leche. The coffee’s own inherent bitterness balances the sweetness. A blonde roast coffee is too mild. A French or Italian roast might be too ashy and bitter, making the drink taste burnt.
If you only have light roast beans, consider a workaround. Add a pinch of salt. A pinch of salt counteracts bitterness and can help bridge the gap between bright coffee and rich dulce de leche. It won’t fix a bad pairing, but it can make a passable one.
The bean origin matters too. A nutty Brazilian or Sumatran coffee works better than a fruity Ethiopian. Blends are often safer than single-origins here. A well-crafted coffee bean blend is designed for balance, which is what you need when adding a potent ingredient.
Hot Dulce de Leche Coffee: The Non-Negotiable Steps
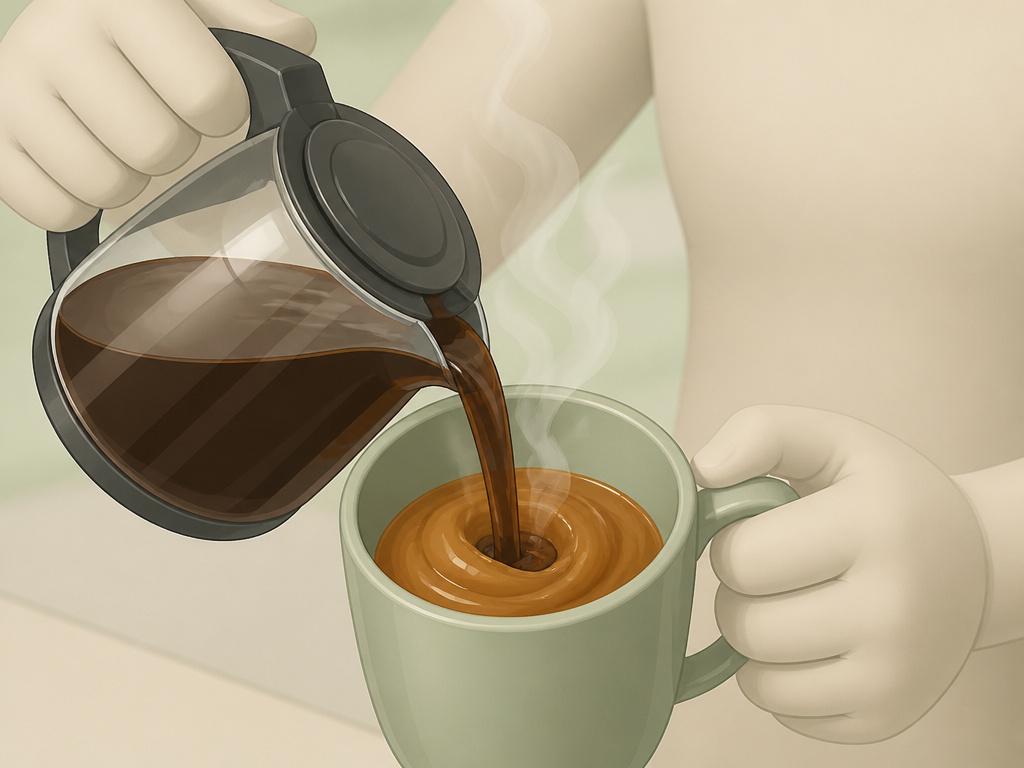
The method is simple, but one misstep ruins the texture.
- Warm the dulce de leche. Scoop your measured amount into a small saucepan or microwave-safe bowl. Heat it gently over low heat or in 15-second bursts in the microwave. You want it loose and pourable, not hot. This pre-warming is the step every quick recipe skips. Cold dulce de leche hitting hot coffee seizes the milk proteins instantly.
- Brew your coffee strong. Dulce de leche adds volume and dilutes. If you normally drink 8 ounces of drip coffee, brew it a touch stronger or use a smaller final volume. An espresso caffeine content base provides the intensity to stand up to the sweetness.
- Combine in the right order. Pour the warmed dulce de leche into your empty mug first. Then, pour the hot coffee directly on top of it. The force of the pour helps with initial integration.
- Stir vigorously and patiently. Use a spoon and stir for a minimum of 30 seconds. Scrape the bottom and sides of the mug. The goal is complete dissolution. Stop when you see no streaks or granules on the spoon.
- Add dairy if desired. Now add your milk, cream, or almond milk coffee addition. Adding the dairy last prevents it from cooling the mixture too much before the dulce de leche dissolves.
I tried the “plop and hope” method exactly once with a canned dulce de leche. The result was a barely-sweet coffee with a thick, grainy sludge at the bottom that tasted like burned sugar. It took a scrub brush to clean the mug. Warming the dulce de leche first takes an extra minute and changes everything.
TL;DR: Warm dulce de leche first, brew coffee strong, combine coffee into dulce de leche, stir for 30+ seconds. This sequence guarantees a smooth, integrated drink.
Iced Dulce de Leche Latte Method
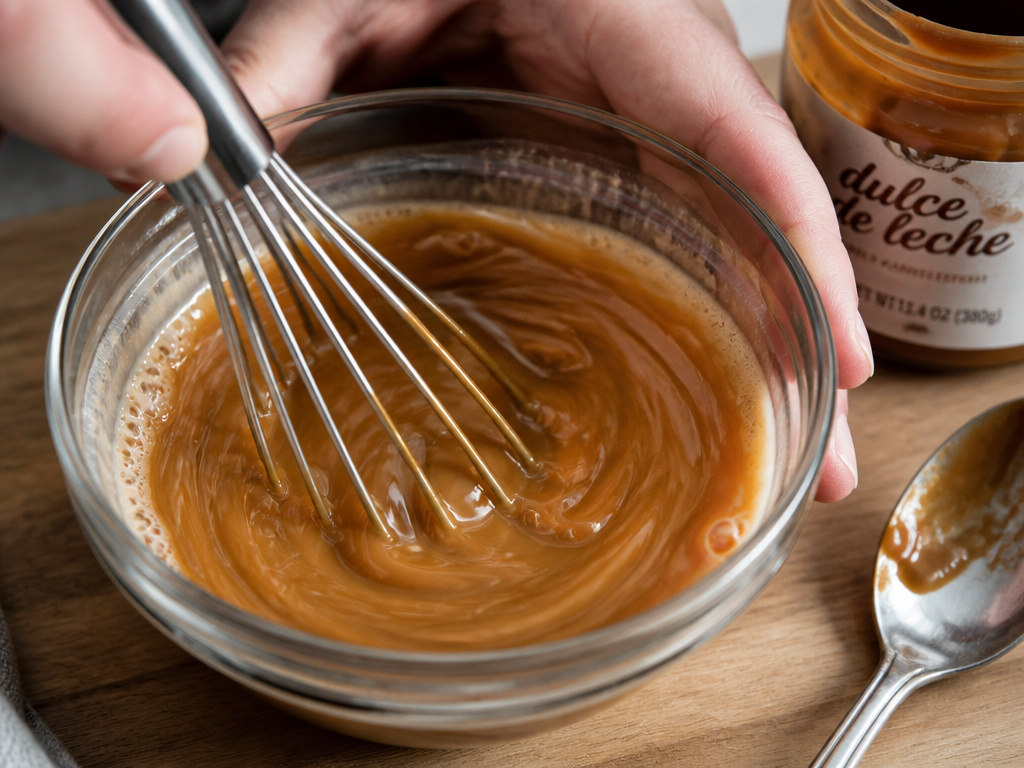
Iced coffee presents a thermal problem. Cold liquid will not melt thick dulce de leche. You must transform it into a syrup.
The fix is to make a “dulce de leche syrup.” In a small bowl, combine your measured dulce de leche with an equal volume of hot water or hot milk. Whisk until it forms a smooth, pourable syrup. This syrup will readily mix into cold liquid.
The YouTube method of squeezing it around the inside of the glass works for visual appeal—the streaks look nice—but it doesn’t flavor the drink evenly. For consistent sweetness in every sip, you need the syrup fully mixed in.
Here’s the iced sequence that works:
– Prepare your dulce de leche syrup.
– Fill a tall glass with ice.
– Pour the syrup over the ice.
– Add cold milk or a dairy-free creamer like almond milk.
– Top with cold brew coffee or chilled espresso.
– Stir well.
Using cold brew is ideal here. Its naturally sweet, low-acidity profile marries well with the dulce de leche. If you use regular brewed coffee that’s been chilled, it might taste flat. The dulce de leche needs a coffee with some inherent sweetness to balance it.
Homemade vs. Store-Bought Dulce de Leche
This choice impacts your coffee more than you might think.
Canned, store-bought dulce de leche is convenient and shelf-stable. Its flavor is reliable, but often sweeter and simpler than homemade. The texture is uniformly thick. It works perfectly fine, especially for a quick morning cup.
Homemade dulce de leche, made by simmering a can of sweetened condensed milk for three hours, has a deeper, more complex flavor. The longer cook time develops more toffee and butterscotch notes, with a less aggressive sweetness. It also tends to be thicker, almost spreadable.
Common mistake: Assuming homemade is always better for coffee. If you simmer your dulce de leche for only two hours, it will be lighter and runnier. This thinner version incorporates more easily but provides less of that deep caramel flavor. The three-hour version requires more diligent warming and stirring to blend.
The trade-off is shelf life. An unopened can of store-bought lasts for months. Homemade dulce de leche, once you open the can or pour it from the baking dish, lasts about two weeks in the fridge. You are making a fresh ingredient.
For coffee purposes, if you enjoy the process, homemade is superior. It gives you control over the final flavor intensity. If you want a set-and-forget pantry staple, the canned product is excellent. Just warm it first.
Dulce de Leche Coffee Additions and Variations
Once you have the base drink mastered, you can layer in other flavors.
- Spices: A dash of cinnamon is a classic pairing. The warming spice cuts the richness. For more on that synergy, see the cinnamon coffee benefits. Nutmeg or a single star anise pod steeped in the hot coffee also works.
- Other Sweeteners: Dulce de leche is sweet enough on its own. Adding white sugar is overkill. However, a teaspoon of brown sugar in coffee can add a molasses note that complements the caramel.
- Fats for Texture: For an ultra-creamy, rich mouthfeel, blend your hot dulce de leche coffee with a teaspoon of coconut oil in coffee or MCT oil coffee. This is a popular keto approach that also provides sustained energy.
- Coffee Alternatives: Chicory coffee, with its woody, nutty flavor, pairs exceptionally well with dulce de leche. The bitterness of the chicory balances the sweetness in a similar way to a dark roast.
Keep the additions simple. The star is the interplay between the coffee and the dulce de leche. Too many competing flavors turns your cup into a muddled experiment.
Frequently Asked Questions
Is dulce de leche coffee the same as a caramel latte?
No. A caramel latte uses a caramel syrup, which is primarily sugar, water, and flavor. Dulce de leche is made from milk and sugar, so it adds dairy fat, protein, and a distinct cooked-milk flavor. The mouthfeel is thicker and the taste is more like butterscotch than pure caramel.
Can I use dulce de leche in my espresso machine?
Do not put dulce de leche into your espresso machine’s steam wand or group head. It will caramelize and burn on the heating elements, causing a sticky, difficult-to-clean mess that can damage the machine. Always add it to the cup after brewing.
How many calories are in dulce de leche coffee?
This depends heavily on your ratios. A tablespoon of dulce de leche has roughly 80-100 calories. An 8-ounce cup of black coffee has under 5. Add milk, and the count climbs. If you’re watching your intake, consider the calories in coffee from added dairy and sweeteners carefully. Dulce de leche is a calorie-dense addition.
Why did my dulce de leche sink to the bottom?
You didn’t warm it first, or you didn’t stir long enough. Cold, thick dulce de leche is denser than hot coffee. It will sink and form a layer that resists stirring. The fix for your current cup is to microwave the whole mug for 20 seconds and stir again vigorously.
Can I make a large batch of dulce de leche coffee for a group?
Yes, but don’t just multiply the ingredients into a big pot. The stirring becomes ineffective. Instead, warm the total amount of dulce de leche in a saucepan. Brew the coffee into a separate carafe. Pour the warmed dulce de leche into a large serving pitcher first, then slowly stream in the hot coffee while whisking constantly. This ensures even distribution.
The Bottom Line
Dulce de leche coffee succeeds on technique, not just ingredients. Warming the dulce de leche is non-negotiable. Matching it with a compatible coffee roast—a medium-dark is best—prevents a cloying or sour cup.
Use the 1:6 ratio as your launchpad. Adjust based on your coffee’s personality. For iced versions, take the extra minute to make a syrup. Whether you use homemade or canned comes down to your preference for depth versus convenience.
The drink is a celebration of caramelized milk and roasted beans. Get the foundation right, and every sip is balanced. Skip the warming step, and you’re left with sweet coffee and a spoonful of regret at the bottom of the mug.
