
How to Make Coffee Creamer at Home With Only 3 Ingredients
To make coffee creamer, combine a creamy liquid base (like half-and-half or coconut milk) with a liquid sweetener (sweetened condensed milk or maple syrup) and a flavoring agent (vanilla extract, cocoa powder, spices). The standard ratio is one 14-ounce can of sweetened condensed milk to 1 3/4 cups of dairy or non-dairy base, plus 1 to 1.5 tablespoons of flavoring. Shake or blend thoroughly and refrigerate.
Most people get this wrong by mimicking the thickness and extreme sweetness of shelf-stable grocery store creamers. Those products use stabilizers, emulsifiers, and high-fructose corn syrup to achieve that texture and lasting power. Your homemade version will be thinner and less cloyingly sweet, and that’s the point. You’re making a fresh, clean ingredient for your coffee, not a science experiment.
This guide walks through the foolproof three-ingredient formula, explains why your creamer’s shelf life is a hard two-week ceiling, and delivers specific recipes for vanilla, chocolate, and cinnamon brown sugar versions that beat the artificial taste of the store-bought stuff.
Key Takeaways
- The foundational ratio is one 14-ounce can of sweetened condensed milk to 1 3/4 cups of liquid dairy or non-dairy base. Deviating from this throws off the sweetness and texture.
- For oil-based flavors like coconut or cocoa powder, you must use an immersion blender to emulsify. Simply whisking leaves tiny oil droplets that will rise and solidify in the fridge.
- Homemade creamer lasts a maximum of 10 to 14 days in the refrigerator. There are no preservatives. If it smells sour or develops visible mold, discard it immediately.
- The sweetness level of homemade creamer is noticeably lower than brands like Coffee-mate or International Delight. This is a feature, not a bug, it allows the coffee’s flavor to remain prominent.
- Always shake the jar vigorously before each use. The ingredients will separate as they sit. This is normal and does not indicate spoilage.
The Core 3-Ingredient Formula Explained
You need a creamy base, a sweetener that integrates without graininess, and a potent flavoring. The base provides body. Half-and-half is the standard, it’s rich enough to stand up to coffee’s heat without curdling easily. You can use whole milk for a lighter result, but the creamer will taste thin. Heavy cream creates a luxurious, thick texture, but it can mute subtle coffee notes.
The sweetener must be liquid or already dissolved. Granulated sugar will sink to the bottom and refuse to blend, creating a gritty, overly sweet last pour. Sweetened condensed milk is the professional’s choice because it’s pre-thickened and blends seamlessly. It also contributes a subtle cooked-milk flavor that works well with most profiles. For a vegan version, replace the sweetened condensed milk with 3/4 cup of maple syrup or agave nectar mixed with the base.
Before you start: Use clean, dry equipment. Any residual water in your mixing jar can introduce bacteria and shorten the shelf life. Ensure your condensed milk can is not dented or swollen, which indicates spoilage. Wash your hands before handling ingredients.
Flavoring is where you customize. Pure extracts and pastes integrate instantly. Ground spices and cocoa powder need vigorous blending to suspend properly. Start with one tablespoon of flavoring per batch, then adjust to taste after the creamer has chilled.
| Ingredient Role | Best Choices | Amount for One Batch |
|---|---|---|
| Creamy Base | Half-and-half, whole milk, full-fat coconut milk, oat milk barista edition | 1 3/4 cups (414 ml) |
| Liquid Sweetener | Sweetened condensed milk (one can), maple syrup, agave nectar | 14 oz can (397g) or 3/4 cup (180 ml) |
| Primary Flavoring | Vanilla bean paste, pure almond extract, unsweetened cocoa powder, pumpkin pie spice blend | 1 to 1.5 tablespoons |
TL;DR: Stick to the 1 3/4 cups base to one can of sweetened condensed milk ratio. Use liquid sweeteners only. Blend oil-based flavors with an immersion blender.
Flavor Variations & Customization
The vanilla recipe is the blueprint. Swap the vanilla for other extracts, but know their strengths. Almond and peppermint extracts are potent, use one teaspoon, not a full tablespoon. For a cinnamon in coffee creamer, you need to steep the spice in warm base to extract its oils. Gently heat your half-and-half with two cinnamon sticks for ten minutes, then let it cool completely before mixing. Skip this step and your creamer will taste like faintly spiced dust.
Chocolate creamer requires an emulsification step. Whisking cocoa powder into cold liquid creates a lumpy, separated mess. The fat in the cocoa needs help. Blend the warm base, sweetened condensed milk, and 1/4 cup of cocoa powder with an immersion blender for a full minute. This creates a stable emulsion that stays smooth in the fridge for its entire shelf life.
For a caramel swirl effect, make a separate quick caramel sauce. Melt 1/2 cup of brown sugar sweetener with two tablespoons of butter and a pinch of salt, then whisk in 1/4 cup of your base until smooth. Let it cool, then swirl it into your finished vanilla creamer. Do not fully mix it.
Common mistake: Adding raw honey directly to cold creamer base, the honey seizes into sticky globs that never fully dissolve. Always warm the base slightly to integrate honey smoothly.
Savory-adjacent additions are gaining traction. A tiny pinch of salt in the batch counteracts bitterness without making the creamer taste salty. For a keto or bulletproof-style creamer, you’ll need to blend in fats like coconut oil creamer or MCT oil benefits. This absolutely requires a high-speed blender to create a stable, non-separated mixture. A jar and a shake will not work.
Equipment & Method: Shake vs. Blend
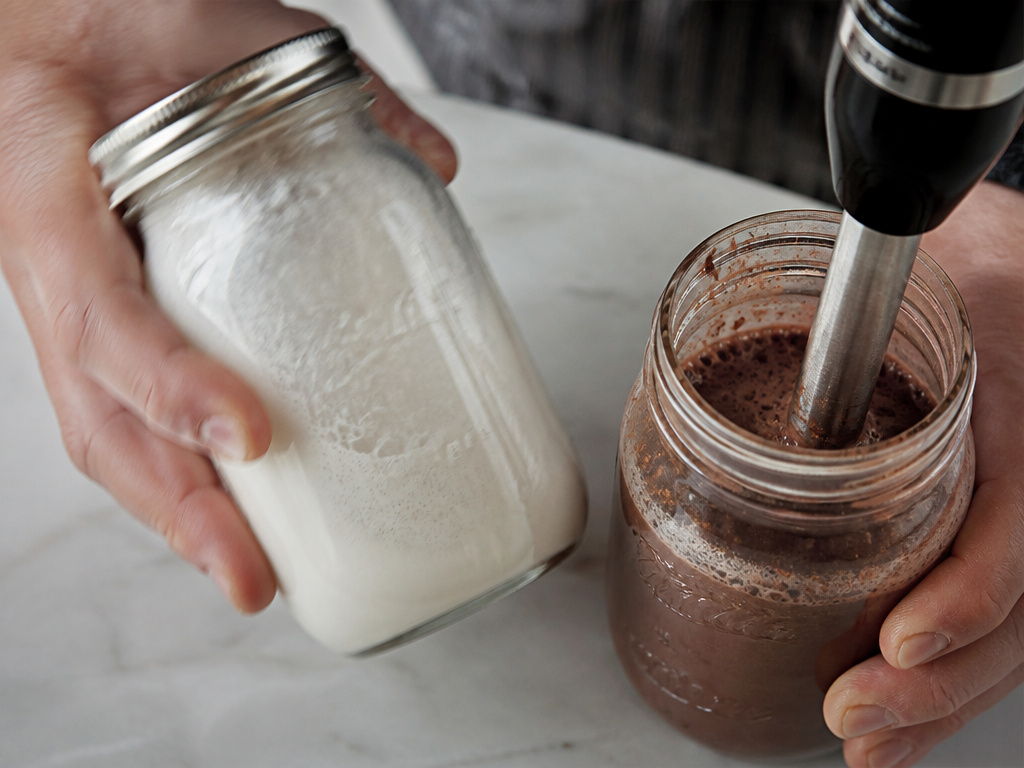
Your tools decide the texture. A lidded jar and a strong arm work for simple extract-based creamers. The process is dump, seal, and shake for about thirty seconds. You’ll see tiny bubbles form on the surface. That’s fine. Let it rest in the fridge for an hour to let the bubbles settle and the flavors meld.
For recipes with insoluble ingredients, cocoa powder, instant espresso granules, ground nutmeg, the shake method fails. You need mechanical shear force. An immersion blender is the minimum. A countertop blender is ideal. Blend for sixty seconds on medium speed. This incorporates air, making the creamer slightly frothy, which actually improves its mouthfeel in the cup.
The choice of storage container matters. A glass Mason jar is neutral and seals tightly. Avoid using a former dairy carton that isn’t perfectly clean. Any plastic container can retain odor from previous contents. Always label your jar with the date you made it. After day ten, start paying close attention to smell.
I tried making a hazelnut creamer with just a jar and a whisk. The hazelnut extract, which is oil-based, never fully incorporated. The next morning, a faint oily ring had formed at the top of the creamer, and the first pour tasted weak while the last pour was overwhelmingly artificial. An immersion blender fixed it on the second attempt.
TL;DR: Extract-only flavors can be shaken. Any recipe with powders, oils, or spices must be blended with an immersion or countertop blender.
Shelf Life, Storage, and Food Safety
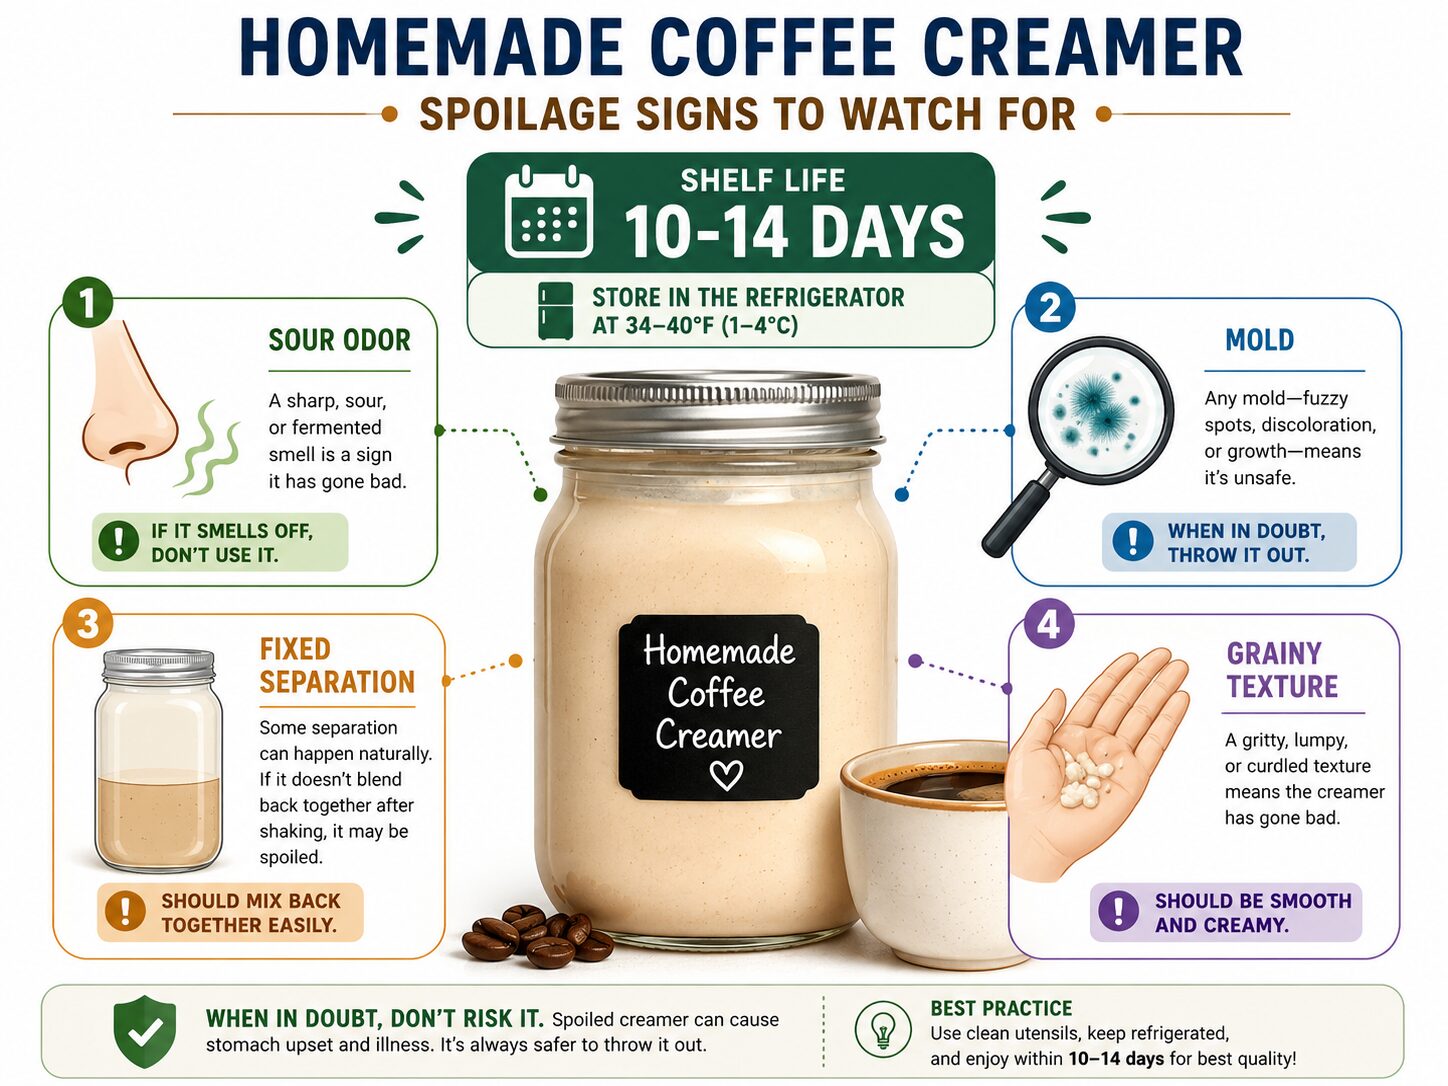
Homemade creamer lacks sodium stearoyl lactylate, carrageenan, and dipotassium phosphate. These are the stabilizers and emulsifiers that give commercial creamers a three-month shelf life. Your version is a fresh dairy (or dairy-alternative) product. The clock starts ticking the moment you mix it.
The maximum safe refrigerator life is 14 days at 38°F (3°C) or below. I mark my calendar for 10 days and plan to use it up by then. Visually inspect it before each use. Look for any unusual separation that doesn’t reincorporate with shaking, any mold spots (often blue or green fuzzy dots), or any curdled appearance. The smell test is reliable, fresh creamer smells sweet and of its flavoring. A sour, tangy, or yeasty smell means it’s fermenting. Toss it.
| Sign of Spoilage | What It Looks/Smells Like | Action |
|---|---|---|
| Sour Odor | Smells like spoiled milk or yogurt, not just “tangy” | Discard entire batch immediately. |
| Visible Mold | Colored fuzzy spots floating on surface or at the jar’s rim | Discard entire batch. Do not scrape off and use the rest. |
| Excessive, Fixed Separation | A clear, yellowish liquid layer that shaking won’t blend back in after 30 seconds | Likely spoiled. Discard to be safe. |
| Changed Texture | Grainy, slimy, or chunky texture that wasn’t present initially | Discard. |
To extend freshness, practice scrupulous hygiene. Use a completely clean, dry jar and utensils. Never pour unused creamer back into the main jar. Never dip a used coffee spoon directly into the creamer jar. Consider making half-batches if you live alone and won’t use a quart within two weeks.
How to Use Your Homemade Creamer
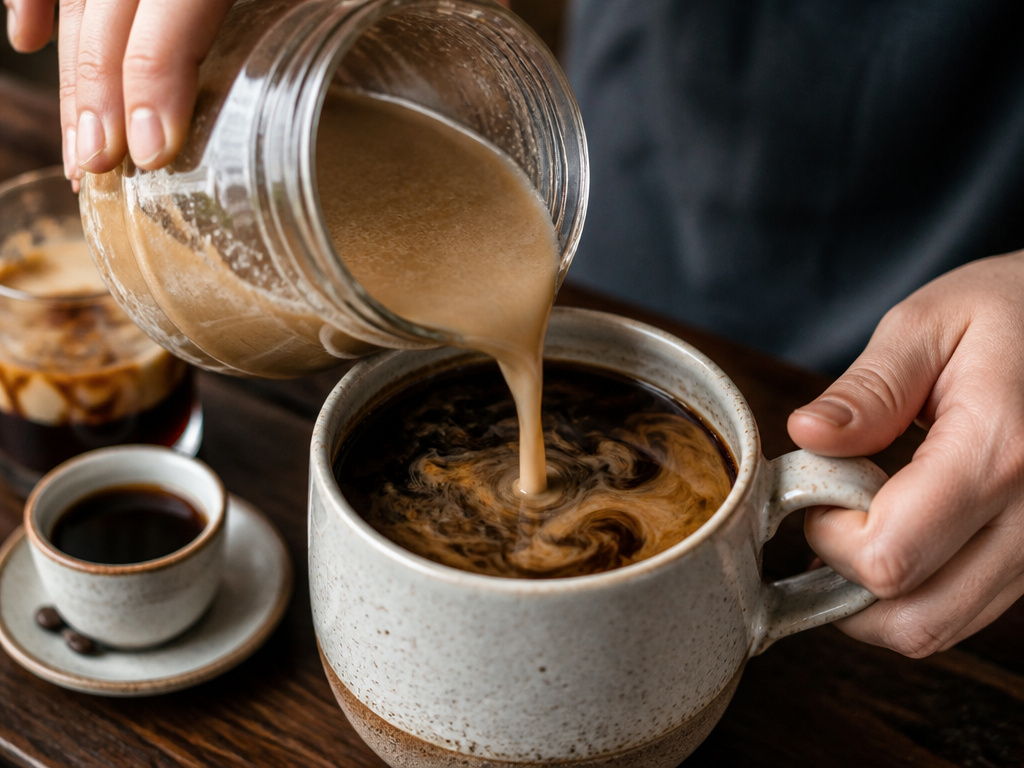
This isn’t just for drip coffee. The applications are wider. Because it’s less sweet, it works in espresso for creamer recipes without overpowering the shot. Try a tablespoon in a macchiato. It’s excellent in iced coffee and cold brew, where it mixes easily with the cold liquid. For a frothed milk beverages like a latte, froth the creamer itself if it’s dairy-based. Non-dairy versions like almond milk in coffee may not froth as well.
Start with one tablespoon per 8 ounces of coffee and adjust. The flavor will be more subtle than you’re used to from store-bought brands. That’s intentional. You should taste your coffee first, with the creamer enhancing it. If you want it sweeter, add a separate sweetener to your cup, not more sweetener to the entire creamer batch.
You can also use it in baking. Substitute it for milk or cream in coffee cake, muffins, or frosting recipes. It adds a subtle flavor layer. Just account for the added sugar in your recipe’s balance.
I won’t use homemade creamer in a large office pot that sits on a warmer for hours. The constant heat will accelerate souring in the cup. It’s best for individual servings made and consumed promptly.
Frequently Asked Questions
Can I use sugar instead of sweetened condensed milk?
You can, but you must make a simple syrup first. Dissolve one cup of granulated sugar in one cup of water over low heat, then cool it completely. Use 3/4 cup of this syrup per batch. Adding granulated sugar directly to the cold base will result in a gritty, separated creamer.
Why did my creamer separate in the fridge?
Some separation is normal, just shake it. Heavy separation, where a distinct layer of liquid won’t recombine, usually means it wasn’t emulsified properly (common with cocoa or coconut oil) or it is beginning to spoil. If vigorous shaking doesn’t fix it within 30 seconds, it’s safer to discard it.
Can I make a sugar-free coffee creamer?
Yes. Replace the sweetened condensed milk with a liquid sugar-free sweetener like monk fruit syrup or erythritol syrup, using the same 3/4 cup measurement. Be aware that some sugar alcohols can crystallize when chilled, so blend thoroughly and expect a slightly thinner final product.
What’s the best non-dairy base for homemade creamer?
Full-fat canned coconut milk provides the richest, creamiest result that most closely mimics dairy. Oat milk barista editions are a close second due to their added fats and stabilizers designed for coffee. Avoid watery bases like plain almond or rice milk, as they will make a thin, disappointing creamer.
How can I tell if my sweetened condensed milk is bad before I use it?
Check the can for rust, deep dents, or bulging ends. Once opened, it should be thick, uniform, and a pale caramel color. If it smells fermented, has darkened significantly, or has any mold, do not use it. An off can will ruin your entire batch.
Can I freeze homemade coffee creamer?
I do not recommend it. Freezing causes the emulsion to break irreparably. When thawed, it will separate into grainy, watery layers that cannot be re-blended smoothly. The texture becomes unpleasant.
Before You Go
Making coffee creamer is about reclaiming control. You control the sweetness, the flavor intensity, and the ingredients list. The trade-off is a shorter shelf life and the need for a quick shake before use. Start with the classic vanilla formula using half-and-half and sweetened condensed milk. Master that ratio. Then experiment with coffee bean blends as a flavor inspiration, or add a boost with functional ingredients like MCT oil. Remember to label your jar with the date, and never let it sit in the fridge past two weeks. Your coffee, and your morning routine, will taste noticeably fresher for it.
