
How to Use Your IMUSA Espresso Coffee Maker: A Complete Guide
This post contains affiliate links. As an Amazon Associate, we earn from qualifying purchases.
To use an IMUSA espresso coffee maker correctly, manage its 3.5-bar pressure system by using finely ground coffee and medium heat. Fill the lower chamber to the safety valve, loosely load the filter basket, assemble, and brew with the lid closed until the top chamber is three-quarters full.
To use an IMUSA espresso coffee maker, fill the lower chamber with water up to the safety valve, loosely fill the filter basket with finely ground coffee, assemble it, and brew on medium heat with the lid closed until the top chamber is three-quarters full. The official manual for the B120-42V series specifies a 3.5 Bar pressure system and an 800W heating element, which means your grind size and heat management are more critical than with a 9-bar machine.
Most people treat this stovetop brewer like a simple kettle. They crank the heat to high, pack the coffee down, and wonder why the result tastes bitter or the safety valve screams. The machine’s 3.5-bar limit isn’t a suggestion—it’s a physical ceiling.
This guide walks through the disassembly, brewing, and cleaning of the IMUSA maker. You will learn why distilled water makes weak coffee, how to tell when the safety valve is about to blow, and the one cleaning step that prevents a metallic taste in every cup.
Key Takeaways
- The IMUSA operates at 3.5 Bar of pressure, not the 9 Bar of a pump machine. Use a fine grind, but never tamp it.
- Fill the lower chamber only to the bottom of the safety valve nipple. Overfilling triggers a steam release within two minutes.
- Distilled water will not produce good crema or flavor. The minerals in tap or filtered water are necessary for extraction.
- Clean the filter basket and pot after every use. Descale the base unit with a vinegar solution every two months if you have hard water.
- The steam wand is for frothing milk only after the brew cycle is complete. Trying to steam while brewing trips the overheat protection.
What You Need to Know Before You Start
The IMUSA B120-42V is a stovetop moka pot, not a true 9-bar espresso machine. That distinction changes everything about how you use it. Its 3.5-bar system relies on steam pressure from boiling water in the sealed lower chamber. This pushes hot water up through the ground coffee in the middle basket and into the top chamber.
The IMUSA B120-42V, B120-42VP, and B120-42VPR models are 4-cup, 800W units with a built-in safety valve that releases steam if internal pressure exceeds design limits, according to the manufacturer’s manual.
This design is forgiving, but it has hard limits. Ignoring them leads to weak coffee, a stuck safety valve, or a scorched pot.
Before you start: The aluminum body heats fast and stays hot for 15 minutes after brewing. Use a dry towel or oven mitt to handle it. Never submerge the base unit in water—it houses the electrical components for the optional models with warming plates.
Your first variable is the coffee itself. A true espresso grind is too fine and will clog the filter. A drip grind is too coarse and will under-extract. You need a grind slightly finer than what you would use for a drip machine, often labeled as “Moka Pot” or “Stovetop Espresso” grind. If you’re grinding your own beans, this is where a quality burr grinder pays off with consistent particle size.
| Component | What It Does | What Happens If It’s Wrong |
|---|---|---|
| Lower Chamber | Holds water, generates steam pressure. | Overfilling trips the safety valve. Underfilling produces weak, steamy coffee. |
| Filter Basket | Holds ground coffee. | Tamped grounds block water flow, causing pressure to back up into the safety valve. |
| Safety Valve | Releases excess steam to prevent explosion. | If clogged by scale, pressure has no outlet. The seal at the thread will leak first. |
| Gasket | Seals the top and bottom chambers. | A worn, cracked gasket leaks steam mid-brew, killing pressure and extraction. |
TL;DR: This is a 3.5-bar steam-pressure brewer. Treat it like a 9-bar machine and you’ll get a mess.
The 7-Step Brew Cycle (From Water to Cup)
Follow these steps in order. The timing between steps three and five is about five minutes total for a 4-cup pot.
- Disassemble and fill the base. Unscrew the top chamber from the bottom. Fill the lower aluminum chamber with fresh, cold water up to the bottom of the small, protruding safety valve. Do not cover the valve. Using cold water gives the grounds time to heat gradually, reducing the risk of scalding them.
- Insert and fill the filter basket. Place the funnel-shaped filter basket into the lower chamber. Fill it loosely with your ground coffee until it is level with the rim. Do not press it down. Level it off with a finger or the back of a spoon. Tamping creates a dense puck that the 3.5-bar pressure cannot penetrate.
- Screw the top on firmly. Wipe the rim of the lower chamber and the silicone gasket clean. Place the top chamber on and screw it on hand-tight. You should feel the gasket compress. Overtightening can warp the aluminum threads over time.
- Brew on medium heat. Place the assembled pot on a stovetop burner set to medium heat. If you have a gas stove, position the handle away from the flame. Close the lid. This keeps heat in and speeds the pressure buildup.
- Listen for the gurgle. In three to five minutes, you will hear a low gurgling sound. This is the water in the lower chamber boiling and forcing steam up through the coffee grounds. Coffee will begin to stream into the top chamber.
- Cut the heat at three-quarters full. Watch the top chamber. As soon as the coffee reaches the three-quarters full mark, remove the pot from the heat source. The residual heat in the base will finish the extraction. Letting it go to full often pulls bitter, over-extracted flavors from the grounds.
- Serve immediately. Pour your coffee right away. Letting it sit in the hot upper chamber continues to cook the liquid. For milk-based drinks like a cappuccino, use the steam wand now (see next section).
Common mistake: Brewing with the lid open — heat escapes, pressure builds slower, and the extraction stalls. The coffee takes twice as long and tastes flat.
The entire process, from cold water to poured cup, should take about seven to ten minutes. If it’s taking fifteen, your heat is too low. If it’s sputtering violently in under three, your heat is too high.
Frothing Milk with the Steam Nozzle
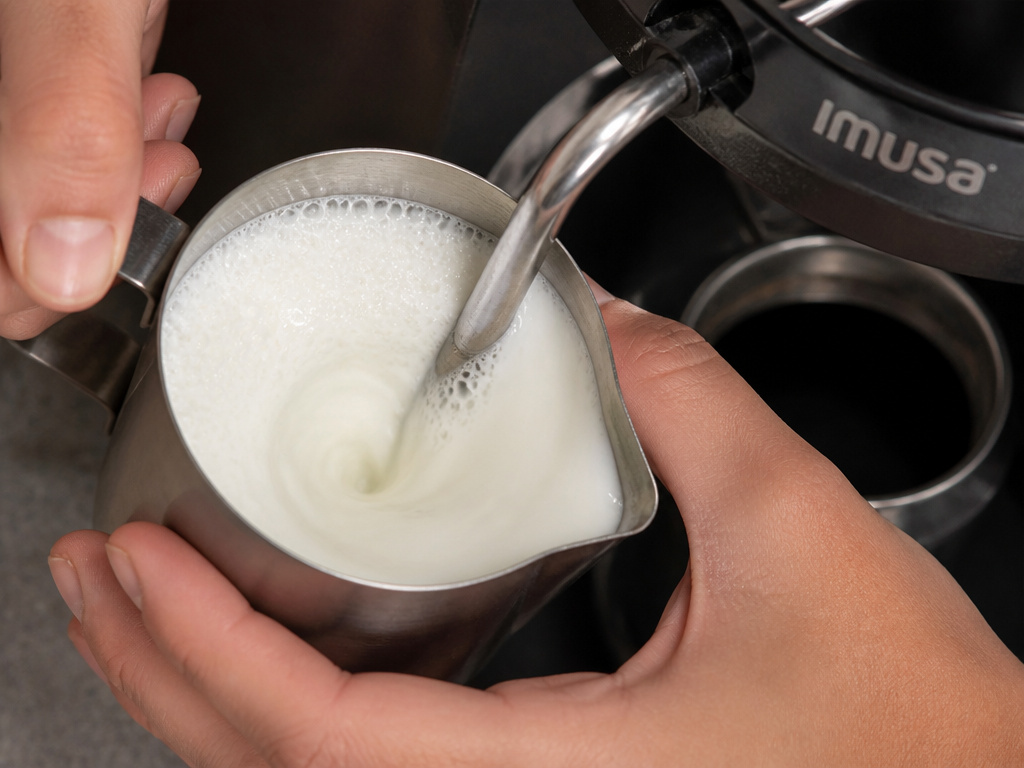
The steam nozzle on the IMUSA is a simple metal tube. It does not have the power or dry-steam quality of a commercial machine, but it can texture milk for a latte or cappuccino. You must only use it after the brew cycle is complete and you have poured the coffee out.
Here is the sequence:
– Brew your coffee, pour it into your cup.
– Fill a small metal pitcher about one-third full with cold milk.
– Place the empty, hot espresso maker back on the burner for 60-90 seconds to rebuild steam pressure.
– Hold the pitcher at an angle and submerge the steam nozzle tip just below the milk’s surface.
– Open the steam valve slowly. You will hear a hiss and see the milk begin to swirl and stretch.
– Keep the tip near the surface to incorporate air and create foam. As the milk heats and expands, lower the pitcher to submerge the tip deeper and stop adding air.
– Stop when the pitcher is too hot to touch for more than a second. You now have frothed milk.
I tried frothing milk while the brewer was still full of coffee. The temperature sensor in the base tripped, the unit clicked off, and I had to wait ten minutes for it to cool down and reset. The manual is clear: steam function is for after brewing.
TL;DR: Steam comes after brewing. Use a cold metal pitcher and stop when the milk is hot, not scalded.
The Three Cleaning Rules That Prevent Failure
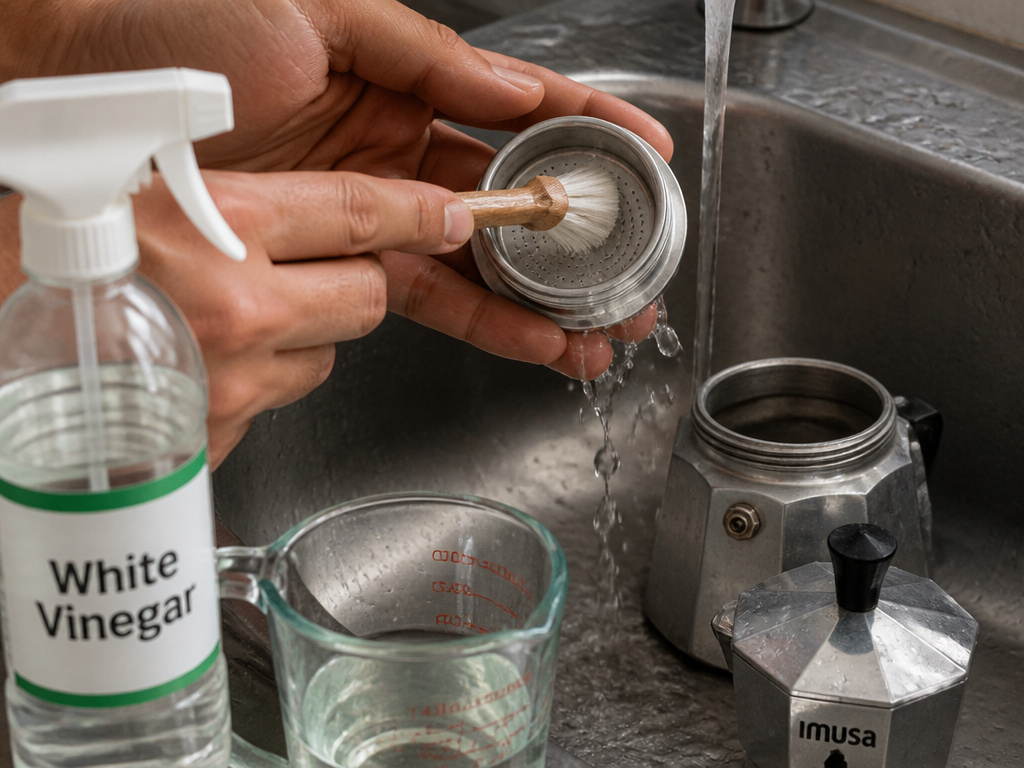
Aluminum is reactive. Coffee oils are sticky. Hard water leaves scale. These three facts dictate your cleaning routine.
- Rinse immediately after use. As soon as the pot is cool enough to handle, take it apart. Rinse the top chamber, filter basket, and lower chamber with hot water. Use a soft brush on the filter basket holes to prevent clogging. Let all parts air-dry completely before reassembling. Trapped moisture leads to oxidation and a metallic taste.
- Never use the dishwasher. The detergent is too abrasive for the aluminum and will dull the finish. The high heat can warp the thin metal of the filter basket.
- Descale the base unit every two months. This is the most skipped step. Limescale builds up inside the lower chamber and the tiny safety valve passage.
| Cleaning Task | Frequency | Method | If You Skip It |
|---|---|---|---|
| Rinse Parts | After every use | Hot water, soft brush, air dry | Oils rancidify, causing bitter taste in next brew. |
| Wash Gasket | Weekly | Remove, wash with soap, check for cracks | Brittle gasket fails, steam leaks, no pressure. |
| Descale Base | Every 2-3 months | 1:1 White vinegar & water solution, run through cycle | Scale clogs safety valve; pressure has no escape. |
For descaling, mix equal parts white vinegar and water. Fill the lower chamber to the valve line, assemble the pot without coffee, and run a brew cycle. Let the vinegar solution sit in the pot for 20 minutes, then discard. Run two cycles with clean water to rinse. This process is similar to the descaling procedures needed for more complex machines.
Why Your IMUSA Coffee Tastes Off (And How to Fix It)
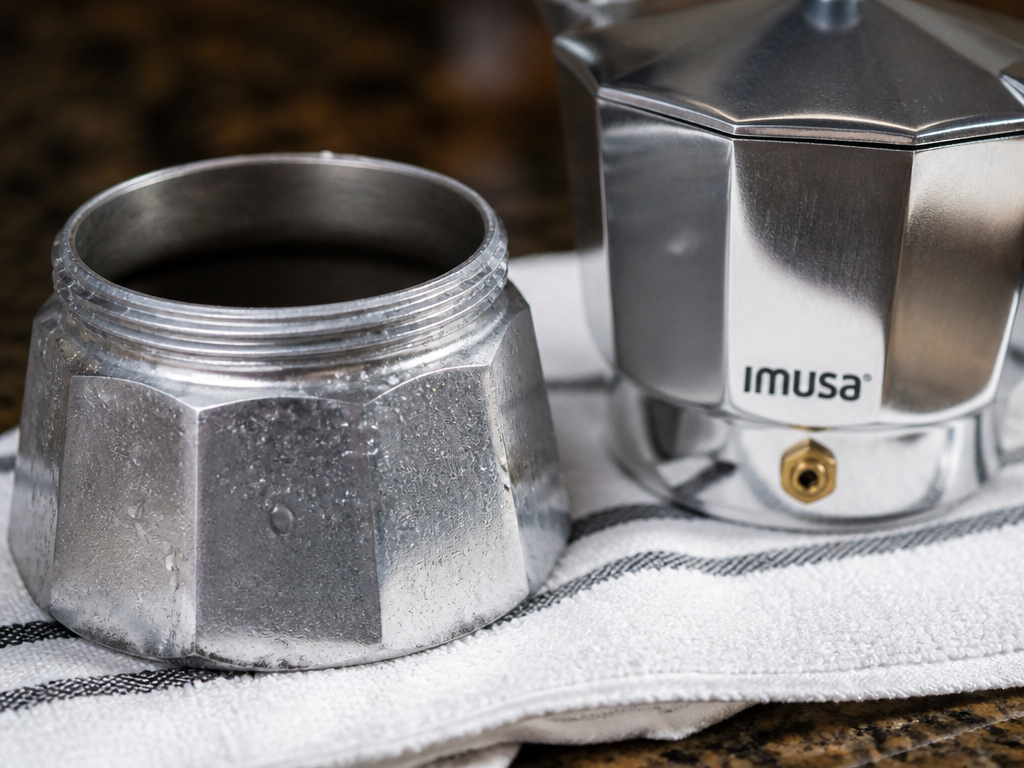
The brewer is simple. When the output is wrong, the cause is usually one of five things.
Weak, watery coffee: The grind is too coarse. The water rushed through without extracting enough oils. Switch to a finer grind, but do not tamp. Alternatively, you may have under-filled the coffee basket.
Bitter, burnt coffee: The heat was too high, or you let it brew until the top chamber was completely full. The last quarter of the extraction pulls harsh compounds. Next time, use medium heat and remove the pot at the three-quarters mark.
No crema or very thin crema: True crema requires 9 bars of pressure. The IMUSA’s 3.5 bars will produce a lighter, frothy layer. If you get none, your coffee is stale or your grind is too coarse. Fresh beans are non-negotiable. Consider a single-origin espresso with robust oils.
Metallic taste: You didn’t dry the aluminum parts thoroughly, or you used an abrasive cleaner. Aluminum oxidizes when wet. Always hand-wash and dry immediately. A seasoned pot will develop a patina that actually protects the flavor.
Safety valve hisses during brewing: The lower chamber was overfilled, past the safety valve line. The excess water boils into excess steam, triggering the valve. It is a warning, not a failure. Let it finish, then use less water next time.
Common mistake: Using distilled or purified water — the manual explicitly warns against it. These waters lack minerals that help with extraction and flavor development. Your coffee will taste flat and lifeless.
Choosing the Right Coffee for Your IMUSA
The machine is only half the equation. The coffee you choose dictates the final cup.
A medium to dark roast works best with the moka pot method. The higher heat and longer contact time can highlight the caramelized sugars and chocolate notes in these roasts. A very light roast bean might taste sour and underdeveloped.
You can use pre-ground “espresso” grind, but for control, whole beans and a grinder are superior. Blade grinders create uneven particles that lead to uneven extraction. A burr grinder provides the consistent fine grind this brewer needs.
While you can use any coffee, a blend designed for espresso or moka pots will have a flavor profile that stands up to the brewing method. These espresso blends often mix Arabica beans for acidity and sweetness with a small amount of Robusta for body and crema.
Freshness matters. Ground coffee goes stale in about 15 minutes. Whole beans last about two weeks after opening. Grind right before you brew.
Frequently Asked Questions
Can the IMUSA espresso maker make real espresso?
No. True espresso is defined by 9 bars of pressure, which the IMUSA’s 3.5-bar system cannot achieve. It makes a strong, concentrated coffee similar to stovetop moka pot coffee, which is often called “stovetop espresso.” The espresso caffeine content will be similar, but the texture and crema are different.
Why does my IMUSA espresso maker leak from the sides when brewing?
leak from the seam between the top and bottom chambers means the gasket is worn, cracked, or dirty. It could also mean the pot is not screwed together tightly enough. Ensure the gasket is clean, pliable, and seated correctly. Screw the chambers together firmly by hand.
How do I know when the coffee is done brewing?
The brew is complete when you hear a sputtering, gurgling sound and see that the flow of coffee into the top chamber has slowed to a trickle or stopped. You should also see coffee in the top chamber. Do not wait for all the water to leave the bottom chamber.
Can I use the IMUSA on an induction cooktop?
No. The IMUSA stovetop models are made from aluminum, which is not magnetic and will not work on an induction burner. You need a gas or electric coil/radiant cooktop. The electric “espresso machine” versions with a cord have their own internal heating element.
What’s the difference between this and an Americano?
An Americano is made by adding hot water to a shot of true espresso. The IMUSA makes a concentrated coffee directly. To mimic an Americano preparation, you could dilute its output with hot water, but the flavor profile will be different due to the pressure difference.
The Bottom Line
The IMUSA espresso maker is a reliable, no-fuss brewer that makes strong coffee. Respect its limits. Use fresh, finely ground coffee, don’t tamp, keep the heat at medium, and pull it off at the three-quarters mark. Clean it after every use and descale it religiously. It won’t produce barista-quality espresso, but for a quick, robust cup with the option for frothed milk, it’s a solid performer for its price. The secret is treating it like the simple steam-pressure device it is, not a complicated pump machine.
