
Guide: How to Start Your Cuisinart Coffee Maker Correctly
This post contains affiliate links. As an Amazon Associate, we earn from qualifying purchases.
To start your Cuisinart coffee maker correctly, first run a full water-only cleaning cycle to clear manufacturing oils, then install the charcoal filter, add grounds, fill the reservoir, and press brew. Skipping this initial flush leaves a plastic taste in your first few pots, as residue bakes onto the heating element.
To start a Cuisinart coffee maker, you must first run a full cleaning cycle with only water, then install any filters, add coffee grounds to the basket, fill the reservoir, and press brew. This process clears manufacturing oils from the internal heating system, a step the manual insists on that most people skip. The exact steps vary slightly between the popular DCC-3200 (14-cup) and DCC-1200 (12-cup) series, particularly regarding the charcoal water filter.
People assume they can just add water and coffee and hit brew. The machine might work, but skipping the initial water-only flush leaves a faint plastic-chemical taste in your first three or four pots. That taste is soluble manufacturing residue baking onto the heating element. Once it’s there, you need multiple cleaning cycles to get it out.
This guide walks through the unboxing, the non-negotiable first clean, and the model-specific settings for your DCC-3200 or DCC-1200. We’ll also cover what to do when the simple start doesn’t work.
Key Takeaways
- Run a full water-only brew cycle before your first pot of coffee. Skipping this coats the heating system with oils that taint flavor.
- The DCC-1200 series requires a charcoal water filter soaked for 5 minutes before insertion; the DCC-3200 does not use this filter.
- Always use the removable reservoir for filling. Pouring water directly into the machine at the basket can cause overflow and damage.
- If the machine doesn’t start after a power interruption, you likely need to reset the programmable clock and auto-off timer.
- For the best flavor, match your filter choice: paper (#4 cone) for clarity, the permanent gold-tone filter for fuller body and less waste.
Unboxing and Initial Setup: More Than Just Plugging In
Open the box and remove all the plastic wrap and foam. Check for the carafe, the filter basket, and the permanent gold-tone filter if your model includes one. There’s usually a small packet containing a charcoal water filter for DCC-1200 models.
Place the machine on a flat, stable counter. Leave at least four inches of space behind it and above it for ventilation. The back houses the electronics, and the top needs room for the steam to dissipate. Placing it directly under a cabinet traps heat and can warp the plastic housing over a few months.
Plug the cord directly into a wall outlet, not a power strip. Coffee makers draw a consistent, high amperage during the heating cycle. A power strip can overheat. The first time you plug it in, you might hear a faint click from the internal thermostat. That’s normal.
The Cuisinart DCC-3200 series features a 14-cup capacity, a removable water reservoir, a gold-tone commercial style permanent filter, brew strength control (Regular/Bold), and an adjustable carafe temperature setting (Low/Medium/High) for the warming plate. The self-clean cycle indicator light signals when descaling is required.
The Mandatory First-Run Cleaning Cycle
This is the step every quick-start guide buries in the manual. Open the lid and pull out the water reservoir. Fill it with clean, cold tap water to the maximum line, 14 cups for the DCC-3200, 12 for the DCC-1200. Do not add coffee. Do not add vinegar. Just water.
Place the empty carafe on the warming plate. Close the lid. Press the ‘Brew’ button. The machine will take a few minutes to heat the water, then it will begin dripping into the carafe. Let the entire reservoir cycle through.
When it’s done, discard that water. Do not drink it. This cycle flushes the internal hot water tank and tubes, removing any dust or protective oils from manufacturing. If you skip it, those oils heat up and bond to the metal. Your coffee will taste off, almost medicinal, for the first several brews.
TL;DR: Always run a full pot of plain water through a new Cuisinart before brewing coffee. It removes manufacturing residue that otherwise bakes onto the heating element and flavors your first few pots.
Model-Specific Prep: DCC-3200 vs. DCC-1200
The two most common series need slightly different preparation. The main difference is the charcoal filter.
For the DCC-1200 Series (12-cup):
Your model includes a charcoal water filter. Take it from the packet and submerge it in a cup of cold water for five full minutes. This pre-soak activates the carbon. After soaking, squeeze it gently and insert it into the cylindrical well at the bottom of the empty water reservoir. It snaps into place. The manual says replace this filter every 60 days or 60 uses. In areas with very soft water, you might stretch that to 90 days. In places with hard water, stick to 60.
For the DCC-3200 Series (14-cup):
This series does not use a charcoal water filter. Your prep is simpler: just ensure the permanent gold-tone filter is locked into the filter basket. Some variants come with a thermal carafe instead of a glass one. If yours is thermal, note that the warming plate function is disabled, the carafe itself keeps the coffee hot.
| Task | DCC-1200 Series | DCC-3200 Series |
|---|---|---|
| Charcoal Filter | Required. Soak 5 mins, insert in reservoir. | Not used. |
| Default Carafe | 12-cup glass carafe with warming plate. | 14-cup glass or thermal carafe. |
| Key Feature | Programmable auto-shutoff (0-4 hours). | Brew strength control & adjustable warming temperature. |
| First-Clean Purpose | Removes manufacturing oils & preps charcoal filter. | Removes manufacturing oils & heats thermal system. |
Step-by-Step Brewing for DCC-3200 & DCC-1200 Models
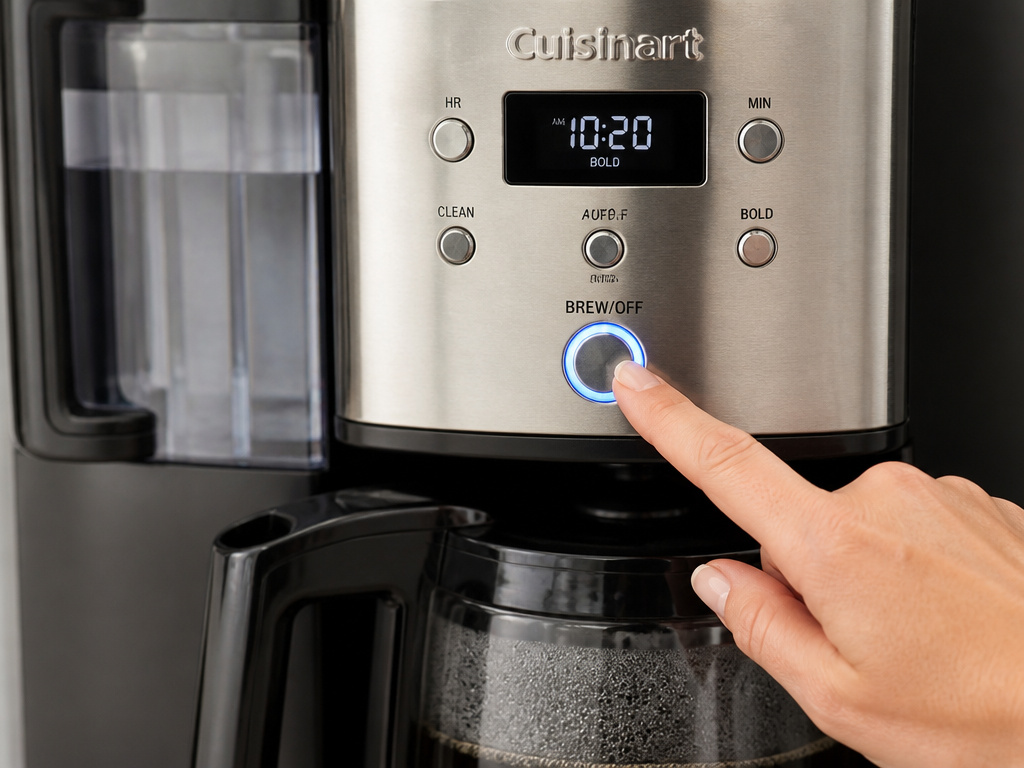
With the cleaning cycle done and filters set, you’re ready for coffee.
- Insert the Filter. Place a #4 cone paper filter into the basket, or use the permanent gold-tone filter. Paper filters produce a cleaner cup with no sediment. The permanent filter allows more oils through, giving a fuller body. It also eliminates the need to buy paper coffee filters.
- Add Coffee. Use a medium-coarse grind, similar to what you’d use for a standard drip coffee method. The standard ratio is one level tablespoon of grounds per cup (6 oz) of water. For a full 12-cup pot, that’s 12 tablespoons. For a stronger cup on a DCC-3200, you can use the ‘Bold’ setting instead of adding more grounds.
- Fill the Reservoir. Remove the reservoir and fill it with cold water to your desired cup level. Use the markings on the side. This is more accurate than pouring water into the basket. Replace the reservoir firmly.
- Set the Carafe. Ensure the carafe is clean and seated correctly on the warming plate. The drip stop mechanism won’t engage if the carafe is missing or misaligned, and you’ll have a hot counter.
- Brew. Press the ‘Brew’ button. The ‘Ready’ light will turn off, and you’ll hear the water begin to heat. Brewing takes about 6-10 minutes for a full pot.
Common mistake: Using a fine espresso grind in a drip machine, the water can’t permeate the dense puck evenly, leading to overflow out the basket and weak, bitter coffee in the carafe.
What to Do When “Start” Doesn’t Work
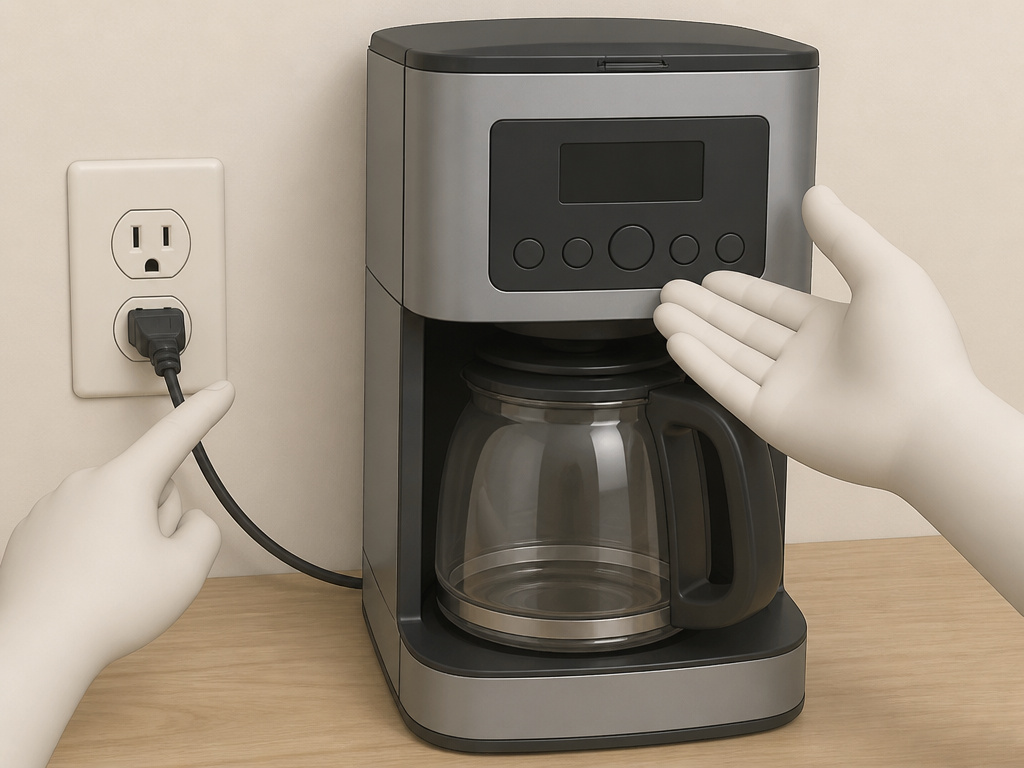
Sometimes you follow the steps and nothing happens. Here are the likely culprits.
No Power / No Lights:
Check that the cord is firmly plugged into the wall and the machine. Try a different outlet. If the machine lost power briefly (a tripped breaker, a quick outage), its programmable settings can reset. You may need to reprogram the clock. Refer to your Braun coffee maker manual for a similar process if you’ve lost your Cuisinart guide.
Water Doesn’t Heat / No Brewing:
Ensure the carafe is present and correctly positioned. A safety switch prevents heating if the carafe isn’t detected. Also, confirm the water reservoir is fully seated. If it’s slightly askew, the water inlet valve won’t open.
Machine Starts Then Stops:
This is often an over-temperature safety trigger. Unplug the machine and let it cool for 30 minutes. Before restarting, ensure the air vents on the back and sides are not blocked. This can happen if the machine is shoved against a backsplash.
Poor Flow or Dripping:
If water drips slowly or sprays, the internal tubes might have a mineral clog from previous use (or from using hard water without the charcoal filter). This isn’t a start-up issue, but it will ruin your first pot. You’ll need to run a descaling cycle. The DCC-3200 has a ‘Clean’ indicator light for this.
Choosing and Maintaining Your Filters
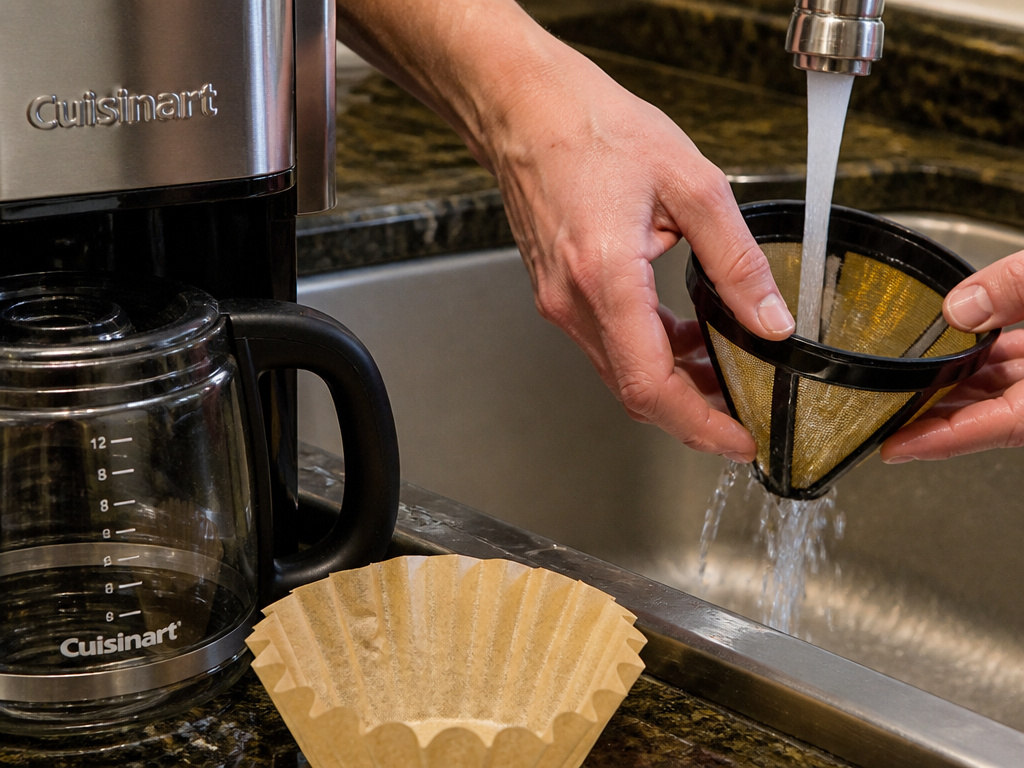
Your filter choice directly impacts taste and maintenance. You have two main paths.
Permanent Gold-Tone Filter:
This is the metal mesh filter included with most models. It’s reusable and eco-friendly. After each use, rinse it thoroughly under hot water and let it air-dry. Every few weeks, soak it in a solution of hot water and baking soda to remove trapped coffee oils. Never scrub it with abrasive pads, you’ll scratch the coating.
#4 Cone Paper Filters:
These are disposable and produce a cleaner cup. You have a choice between bleached coffee filters (white) and unbleached (brown). Bleached filters have had the paper pulp chemically treated to remove lignin, which can impart a faint papery taste. Unbleached filters are processed without those chemicals but may leave a subtle woody note in very light roasts. For those concerned with waste, biodegradable coffee filters are a good middle ground.
The same logic applies to other machines. Knowing your Bunn coffee pot filters or Breville coffee machine filter needs is part of maintaining any brewer.
Programming Your Machine for Daily Use
Both the DCC-1200 and DCC-3200 can be programmed for auto-brew. The process is similar.
- Set the Clock. Press and hold the ‘Clock’ button. Use the ‘Hour’ and ‘Minute’ buttons to set the correct time. Release ‘Clock’.
- Set Auto-On. Press ‘Program’ or ‘Auto On’. The ‘Program’ light will blink. Use the ‘Hour’ and ‘Minute’ buttons to set the time you want the coffee to start brewing. Press ‘Program’ again to lock it in.
- Set Auto-Off (DCC-1200). The DCC-1200 lets you set an automatic shut-off for the warming plate from 0 to 4 hours. Press the ‘Auto Off’ button repeatedly to cycle through the time settings (0, 1, 2, 3, 4). The selected number will light up.
To brew manually at any time, just press ‘Brew’. The programmed schedule remains in memory. A power outage will erase it, requiring you to set it again. If you need a visual guide, the process mirrors that in a Black & Decker coffee maker manual.
The Grind Size Most People Get Wrong
Your coffee maker is a drip system. It needs a grind that allows water to flow through at a steady rate, extracting flavor without clogging. The ideal grind is medium-coarse, with a texture resembling rough sand.
Using a blade grinder often creates a mix of dust and boulders. The dust clogs the filter, causing overflow, while the boulders under-extract, making weak coffee. A burr coffee grinder creates uniform particles, which is the single biggest upgrade you can make to your brewed coffee quality at home.
If your coffee tastes weak and bitter simultaneously, the grind is likely too fine. If it tastes sour and thin, the grind is too coarse. Adjust your grinder accordingly.
| Symptom | Likely Cause | Fix |
|---|---|---|
| Coffee overflows filter basket | Grind is too fine. | Use a coarser grind setting. |
| Coffee tastes weak, watery | Grind is too coarse. | Use a finer grind setting or increase coffee dose by 1 tbsp per pot. |
| Brewing is very slow | Paper filter clogged by fines. | Use a coarser grind or switch to a permanent gold-tone filter. |
| Burnt or bitter taste | Warming plate too hot. | On DCC-3200, lower the carafe temperature setting to ‘Low’ or ‘Medium’. |
Frequently Asked Questions
Why does my new Cuisinart coffee maker smell like plastic?
That’s the manufacturing oils heating up. You skipped the initial water-only cleaning cycle. Run two full pots of plain water through the machine now, then brew a pot. The smell should be gone. If it persists after three cycles, contact Cuisinart support.
Do I have to use the charcoal water filter in my DCC-1200?
Technically, no. The machine will brew without it. However, the filter reduces chlorine taste and scale buildup. In areas with hard water, skipping it will lead to faster limescale accumulation, triggering the ‘Clean’ light more often. It’s cheap insurance.
Can I use pre-ground coffee from the store?
Yes, but store-bought pre-ground is typically ground for generic drip machines, which is a safe medium setting. For the best flavor from a single-origin coffee, grinding fresh just before brewing is vastly superior.
My ‘Clean’ light is on. Can I still brew coffee?
Yes, you can. The light indicates mineral buildup is approaching a level that could affect performance or taste. It’s a reminder to run a descaling cycle soon. You can brew several more pots, but schedule a descaling session within the week.
What’s the difference between ‘Regular’ and ‘Bold’ on my DCC-3200?
The ‘Bold’ setting slows the water flow slightly, increasing the contact time between water and grounds. This extracts more flavor compounds, resulting in a stronger, more intense cup without adding more coffee grounds. It’s ideal for darker roasts.
The Bottom Line
Starting a Cuisinart coffee maker correctly isn’t complicated, but it is specific. Wash the carafe and filter basket. Run that initial cleaning cycle with plain water, every time, for every new machine. Install the charcoal filter if your model has one. Use the right grind size.
The machine is built to deliver consistent coffee brewing methods for years. Most early failures come from skipping these foundational steps. The plastic taste, the clogged tubes, the weak first pot, they’re all avoidable. Set it up right once, and your morning ritual becomes automatic.
