
How to Prepare Espresso Coffee: The Complete 3-Step Guide
To prepare espresso coffee, you need an espresso machine, a burr grinder, a scale, and a tamper. The method is: weigh 18 grams of coffee, grind it fine, distribute it evenly in the portafilter, tamp it level, and extract 36 grams of liquid in 25 to 35 seconds. The grind size controls the extraction speed and is your primary adjustment.
Most people think the machine makes the espresso. It doesn’t. The machine just pushes hot water. The coffee grounds create the pressure. If your grind is off by half a notch, the shot runs bitter or sour in under ten seconds. You can have a two-thousand-dollar machine and still make terrible espresso.
This guide walks through the mandatory gear, the non-negotiable three-step method, and how to dial in a shot by taste. We will also cover the edge cases that break the standard rules, like using frozen beans or dealing with a machine that lacks pre-infusion.
Key Takeaways
- Your burr grinder is more critical than your espresso machine. Inconsistent grind causes channeling and uneven extraction every time.
- The standard 1:2 brew ratio (18g in, 36g out) is a starting point, not a law. Adjust the yield to taste, especially for lighter roasts.
- Tamping level matters more than tamping force. An uneven tamp guarantees the water will find the path of least resistance and ruin the shot.
- Dial in by taste, not just time. A 28-second shot that tastes sour needs a finer grind, even if the timing looks perfect.
- Preheat everything. A cold portafilter or cup will drop the brew temperature by several degrees, muting flavor.
The Gear You Cannot Skip
You need four pieces of equipment to prepare espresso coffee. Missing one means you are making strong coffee, not espresso.
An espresso machine provides the 8-9 bars of pressure. The Breville Barista Express BES870XL has a built-in grinder and a 15-bar pump, but most prosumer machines like the ECM Synchronika use a vibration or rotary pump set to 9 bar. The machine heats the water to between 92°C and 96°C (198–205°F). A cold machine makes a weak, under-extracted shot.
A burr coffee grinder is non-negotiable. Blade grinders create dust and boulders, which means some parts of the puck extract faster than others. You need the uniform particle size a burr grinder provides. For espresso, the grind must be fine enough to create resistance. The Breville Barista Express’s integrated conical burr grinder works, but many owners find they need to adjust its internal burr setting, not just the external dial, to get fine enough for light roasts.
A scale with 0.1g resolution removes guesswork. Volume measurements for coffee are useless. Dose by weight. A scale with a built-in timer lets you track the output yield and time simultaneously.
A tamper that fits your portafilter basket seals the coffee grounds. The most common basket sizes are 58mm and 54mm. Using the wrong size leaves a gap around the edge where water will rush through. A self-leveling tamper helps beginners, but a standard tamper works if you focus on keeping it straight.
Before you start: The steam wand on an espresso machine stays dangerously hot long after use. Never touch it without a thick cloth. In 2010, Breville recalled certain models because the steam wand could detach, releasing scalding water. Always check that components are secure.
The Three-Step Espresso Method
Follow this sequence exactly. Swapping steps or guessing quantities will waste coffee.
1. Dose and Grind
Weigh 18.0 grams of coffee beans. This is the standard double-shot dose. For a single shot, use 9 grams. Use fresh beans roasted within the past 2-4 weeks.
Grind immediately. If you store beans in the freezer to prolong freshness, grind them while still frozen. Grinding thawed beans introduces condensation that makes the grounds clump. The target grind texture is fine like table salt, but with a slight sandy feel. It should clump slightly when pinched.
TL;DR: Weigh 18g of beans. Grind fine enough that the grounds clump when pinched, adjusting the grinder until the shot time is correct.
2. Distribute and Tamp
Dump the grounds into your portafilter basket. Do not tap the side to level it—this causes density differences.
Use a WDT tool (Weiss Distribution Technique) with 0.4mm needles to stir the grounds and break up clumps. Stir in a slow, circular motion from the bottom up. This ensures even density. Skipping distribution is the most common cause of channeling, where water blasts a hole through the puck.
Now tamp. Place the tamper on the coffee and press straight down with 20-30 pounds of force. The goal is a level, compacted puck. A tilted tamp creates an uneven bed, and water will flow faster through the thinner side. Many people overthink the pressure. Level is everything.
A level tamp is non-negotiable. A 5-degree tilt creates a 30 percent flow difference between the two sides of the basket, and you will see the espresso stream favoring one spout immediately.
3. Extract and Time
Lock the portafilter into the group head. Place your scale and cup underneath. Start the timer and immediately start the pump.
The first drops of espresso should appear 5-8 seconds later. This is the pre-infusion phase, where the puck saturates. If drops appear instantly, the grind is too coarse. If nothing appears for 10+ seconds, the grind is too fine.
Let the shot run. The target is to extract 36 grams of liquid espresso (a 1:2 ratio) in 25-35 seconds total. Stop the pump when the scale hits 36g. The time from first drop to finish is your extraction time.
| Shot Symptom | Likely Cause | Immediate Fix |
|---|---|---|
| Gushes out fast, pale liquid | Grind too coarse | Adjust grinder 1-2 clicks finer |
| Drips very slowly, dark syrup | Grind too fine | Adjust grinder 1-2 clicks coarser |
| Stream favors one side | Uneven tamp or distribution | Re-WDT and re-tamp, focus on level |
| Starts okay, then spurts | Channeling (hole in puck) | Improve distribution, ensure no clumps |
TL;DR: Start timing when you start the pump. Aim for 36g of espresso in 25-35 seconds. The grind size dictates the speed.
Dialing In By Taste
Time and weight are guides. Taste is the final judge. Your goal is a balanced shot: not too bitter, not too sour.
Sour (sharp, tart) means under-extraction. The water didn’t pull enough sugars from the coffee. To fix: grind finer. This increases surface area and slows the shot, allowing more extraction. You can also increase the yield (e.g., go for 40g out) to pull more from the puck.
Bitter (harsh, drying) means over-extraction. The water pulled out too many compounds, including undesirable ones. To fix: grind coarser. This speeds up the shot, reducing contact time. You can also decrease the yield (e.g., go for 32g out) to stop the shot earlier.
What if the time is perfect but the taste is wrong? Change the ratio. A light roast might taste better at a 1:2.5 ratio (18g in, 45g out). A dark roast might be better at 1:1.5 (18g in, 27g out). Adjust one variable at a time.
Common mistake: Chasing the “perfect” 30-second shot with a sour taste. You keep grinding finer, the time gets longer, but the sourness remains. The real issue is often channeling from poor distribution—finer grind just makes the channeling worse. Go back to distribution.
The Variables You Control
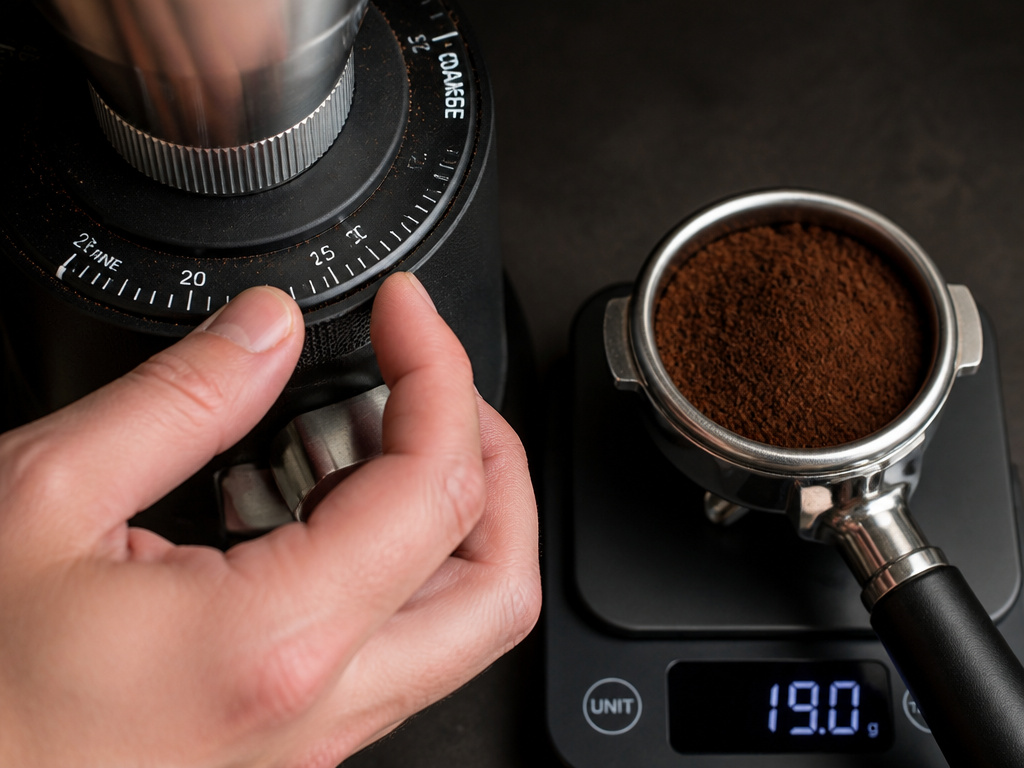
Espresso preparation is about managing inputs. This table shows what each variable changes.
| Variable | What It Controls | How to Adjust |
|---|---|---|
| Dose (coffee weight) | Strength & body | More coffee (e.g., 19g) makes a stronger, thicker shot if yield is constant. |
| Yield (espresso weight) | Extraction level | Longer yield (more water) extracts more, increasing bitterness if pushed too far. |
| Grind Size | Extraction time & flow rate | Finer = slower, more extraction. Coarser = faster, less extraction. Primary dial-in tool. |
| Water Temperature | Extraction of acids/sugars | Higher temp (96°C) extracts more, better for light roasts. Lower temp (92°C) tames bitterness in dark roasts. |
Your machine may not have temperature control. Most basic machines brew between 93–95°C, which is fine for medium roasts. For more control, you need a machine with a PID, like the La Marzocco Linea Mini.
The water itself matters. Hard water leaves scale that damages heating elements. Soft water with no minerals can taste flat. Many manufacturers recommend 50-100 ppm total hardness. Some enthusiasts use tailored mineral packets like Third Wave Water for specific flavor profiles, even outside manufacturer specs.
Edge Cases and Problem Solving
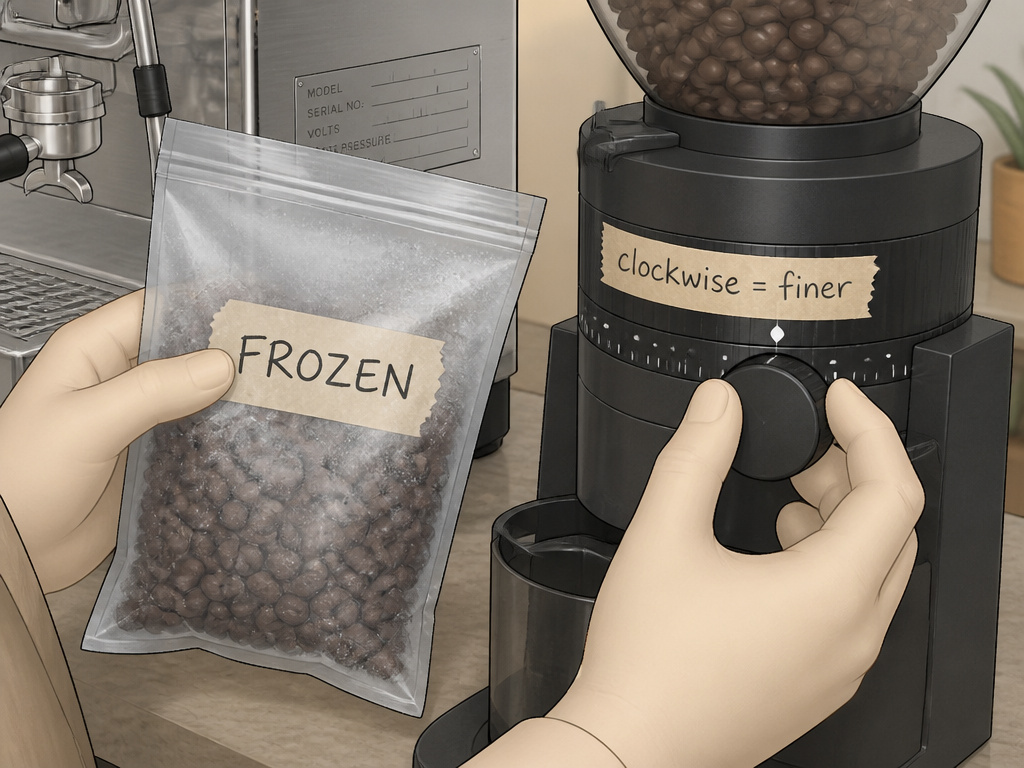
Standard advice breaks sometimes. Here is how to handle it.
Using frozen beans: Freezing preserves freshness for months. Always grind frozen beans directly from the freezer. If you let them thaw, moisture condenses on the beans and later on the grinder burrs, causing clumping and rust over time. The grind will be inconsistent.
No pre-infusion setting: Many machines lack a pre-infusion function. You can mimic it by manually turning the pump on for 2 seconds, off for 5 seconds to let the puck bloom, then on again for the full extraction. This helps saturate the puck evenly and can reduce channeling on older machines.
Voltage mismatch: Machines are built for specific voltages (120V North America, 230V Europe). Using a 230V machine on 120V without a transformer means it will never heat properly. The boiler struggles, steam pressure is weak, and you risk damaging the heating element. Always check the spec plate on the machine.
The machine has a pressurized basket: These baskets have a single small hole to create fake pressure for pre-ground coffee. You cannot properly dial in with one. The shot will always taste hollow and over-extracted. Switch to a standard non-pressurized basket as soon as you have a grinder.
Common mistake: Ignoring the direction of the grind adjustment knob. On some grinders, turning clockwise makes it coarser; on others, it makes it finer. Write it down on a piece of tape stuck to the grinder. Wasting 20 grams of coffee to remember which way is which is frustrating.
Frequently Asked Questions
How much caffeine is in a shot of espresso?
single 30ml shot of espresso has about 64 milligrams of caffeine. A double shot has roughly 128mg. The caffeine content in espresso is more concentrated by volume than drip coffee, but a typical mug of drip coffee contains more total caffeine.
Can I use pre-ground coffee for espresso?
No. Pre-ground coffee is almost always too coarse for espresso. It will gush through the machine in 15 seconds, producing a weak, sour shot. You must grind fresh beans immediately before brewing to get the fine, consistent texture needed to create pressure.
What is the difference between an espresso and an Americano?
An Americano is an espresso-based drink made by diluting a shot of espresso with hot water. It has a similar strength to drip coffee but retains the espresso’s flavor profile. To prepare one, pull a normal shot, then add 120-180ml of hot water to the cup.
Why is there no crema on my espresso?
Crema requires fresh, recently roasted beans and a proper extraction. Old beans (over a month past roast) or a very coarse grind will produce little to no crema. Stale coffee beans have degassed and cannot form the emulsion of oils and gases that creates crema.
My espresso always tastes bitter. What am I doing wrong?
Bitterness usually means over-extraction. First, try grinding coarser. If that doesn’t help, reduce your yield—stop the shot 5 grams earlier. Also, ensure your water temperature isn’t too high, especially with dark roast beans. A pinch of salt in espresso can counteract bitterness in a finished shot, but it’s better to fix the extraction.
Before You Go
Preparing espresso coffee is a skill of details. The machine pushes water, but the coffee creates the drink. Your grinder is the most important tool on the counter.
Start with the 18g dose, 36g yield, and 30-second target. Then taste. Adjust the grind first, then the yield. Remember that a level tamp and good distribution prevent most problems before the water even hits the coffee.
Keep a log. Write down the dose, grind setting, yield, time, and taste for each shot. After three attempts, you will see the pattern. The best espresso is the one in your cup that tastes right to you. Now go pull a shot.
{
“@context”: “https://schema.org”,
“@type”: “HowTo”,
“name”: “How to Prepare Espresso Coffee”,
“totalTime”: “PT10M”,
“tool”: [
{
“@type”: “HowToTool”,
“name”: “Espresso machine”
},
{
“@type”: “HowToTool”,
“name”: “Burr grinder for espresso”
},
{
“@type”: “HowToTool”,
“name”: “Scale with 0.1g resolution”
},
{
“@type”: “HowToTool”,
“name”: “58mm or 54mm tamper”
},
{
“@type”: “HowToTool”,
“name”: “WDT tool with 0.4mm needles”
}
],
“step”: [
{
“@type”: “HowToStep”,
“name”: “Measure and grind the beans”,
“text”: “Weigh 18 grams of roasted coffee beans. Grind them finely using a burr grinder set for espresso. The grounds should feel like table salt with a slight clump.”
},
{
“@type”: “HowToStep”,
“name”: “Distribute and tamp”,
“text”: “Transfer grounds to your portafilter. Use a WDT tool to distribute them evenly, breaking clumps. Tamp with 20-30 pounds of pressure, ensuring a perfectly level, flat surface.”
},
{
“@type”: “HowToStep”,
“name”: “Extract and time”,
“text”: “Lock the portafilter into the machine. Start your timer. The shot should begin dripping within 5-8 seconds. Aim to extract 36 grams of liquid espresso in 25-35 seconds total.”
}
]
}
{
“@context”: “https://schema.org”,
“@type”: “FAQPage”,
“mainEntity”: [
{
“@type”: “Question”,
“name”: “How much caffeine is in a shot of espresso?”,
“acceptedAnswer”: {
“@type”: “Answer”,
“text”: “single 30ml shot of espresso has about 64 milligrams of caffeine. A double shot has roughly 128mg. The caffeine content in espresso is more concentrated by volume than drip coffee, but a typical mug of drip coffee contains more total caffeine.”
}
},
{
“@type”: “Question”,
“name”: “Can I use pre-ground coffee for espresso?”,
“acceptedAnswer”: {
“@type”: “Answer”,
“text”: “No. Pre-ground coffee is almost always too coarse for espresso. It will gush through the machine in 15 seconds, producing a weak, sour shot. You must grind fresh beans immediately before brewing to get the fine, consistent texture needed to create pressure.”
}
},
{
“@type”: “Question”,
“name”: “What is the difference between an espresso and an Americano?”,
“acceptedAnswer”: {
“@type”: “Answer”,
“text”: “An Americano is an espresso-based drink made by diluting a shot of espresso with hot water. It has a similar strength to drip coffee but retains the espresso’s flavor profile. To prepare one, pull a normal shot, then add 120-180ml of hot water to the cup.”
}
},
{
“@type”: “Question”,
“name”: “Why is there no crema on my espresso?”,
“acceptedAnswer”: {
“@type”: “Answer”,
“text”: “Crema requires fresh, recently roasted beans and a proper extraction. Old beans (over a month past roast) or a very coarse grind will produce little to no crema. Stale coffee beans have degassed and cannot form the emulsion of oils and gases that creates crema.”
}
},
{
“@type”: “Question”,
“name”: “My espresso always tastes bitter. What am I doing wrong?”,
“acceptedAnswer”: {
“@type”: “Answer”,
“text”: “Bitterness usually means over-extraction. First, try grinding coarser. If that doesn’t help, reduce your yield—stop the shot 5 grams earlier. Also, ensure your water temperature isn’t too high, especially with dark roast beans. A pinch of salt in espresso can counteract bitterness in a finished shot, but it’s better to fix the extraction.”
}
}
]
}
