
How to Descale Your Keurig for Better Taste & Faster Brews
This post contains affiliate links. As an Amazon Associate, we earn from qualifying purchases.
To descale your Keurig, run a diluted acid solution through its system, let it soak for 30 minutes, and then flush it with at least 12 full brew cycles of fresh water. This dissolves mineral scale, which restores heating efficiency for faster brews and removes off-tastes for better coffee flavor.
To descale a Keurig, you need to run a diluted acid solution through its internal water system, let it soak for 30 minutes to dissolve calcium and lime scale, and then flush the system with at least 12 full brew cycles of fresh water. The exact button sequence to enter descale mode varies by model, but the core chemical process is the same for vinegar and commercial solution.
Most people stop rinsing after three or four cycles. The machine might look clean, but leftover acid in the internal lines makes the next dozen cups taste like a penny. You need to flush it until the taste is gone, not until the light turns off.
This guide walks through the supplies, the model-specific button presses, and the non-negotiable rinse count that keeps your coffee tasting right.
Key Takeaways
- Use either white vinegar or Keurig Descaling Solution. Vinegar is cheaper and effective, but the proprietary solution contains surfactants that help rinse cleaner and may be less harsh on older internal seals.
- The soak time is mandatory. Letting the solution sit in the machine for 30 minutes dissolves the hardened scale that quick flushes miss. Skipping this step leaves scale in the thermoblock and feed lines.
- Rinse with at least 12 full reservoirs of fresh water. The official manual says “at least 12 rinse brews.” Fewer cycles leave descaling residue that makes coffee taste metallic and sour.
- Hard water demands descaling every 3 months. Soft water users can stretch to 6. If your brew times slow down or the machine sounds strained, it’s already overdue.
- Remove the water filter cartridge before you start. The descaling solution will ruin it.
What You Need to Descale a Keurig
You have two choices for the descaling agent. The first is the Keurig Descaling Solution, a proprietary citric-acid-based formula. The second is plain distilled white vinegar. The choice changes the rinse procedure.
Keurig’s official stance is to use only their branded descaling solution. The formula includes citric acid to dissolve scale and detergent surfactants that help the solution, and the dissolved minerals, rinse out more completely in the subsequent water cycles.
Vinegar works. It’s acetic acid, and it dissolves calcium carbonate scale. But it lacks those rinsing agents. That’s why the vinegar rinse cycle feels endless, you’re flushing pure acid out with pure water, which takes more volume.
The rest of the kit is simple: a large mug or bowl (at least 16 ounces), a full reservoir of fresh water standing by, and a soft cloth for drips. Also grab the manual for your specific model if you have it; the button sequence to start the descale mode is not universal.
TL;DR: Pick vinegar for cost, Keurig solution for easier rinsing. Have a big mug and a lot of fresh water ready.
The Vinegar vs. Solution Trade-Off
This is the first decision point, and most guides treat it as a footnote. It is not.
White vinegar costs a fraction of the branded solution. A gallon jug is maybe five dollars. It will absolutely dissolve the white limescale crusting your heating element. I used it for years on a Keurig K-Elite. The problem is the aftertaste.
Vinegar clings to plastic. The acetic acid doesn’t fully neutralize with a quick rinse. If you shortcut the rinse cycle, and everyone tries at least once, your next several pots of coffee will carry a sharp, tinny note. It’s the flavor of regret.
The Keurig Descaling Solution uses citric acid. It’s slightly less aggressive on scale but formulated with detergents that make it rinse out with less water. The company says at least 12 rinse cycles for both, but in practice, the solution clears in 10 or 11. Vinegar can take 15.
Your water hardness decides the stakes. Soft water creates soft scale that vinegar handles easily. Hard water creates a concrete-like matrix that benefits from the solution’s added chelating agents.
| Agent | Best For | Cost per Descale | Rinse Effort | Primary Risk |
|---|---|---|---|---|
| White Vinegar | Soft water areas, budget maintenance | ~$0.50 | High (12-15 cycles) | Metallic aftertaste if under-rinsed |
| Keurig Solution | Hard water, heavy scale, older machines | ~$5.00 | Moderate (10-12 cycles) | Cost, availability |
There’s no universal winner. For a machine used daily in a hard-water zone, the solution pays for itself in time and coffee saved. For a weekend cabin brewer, vinegar is fine.
Step-by-Step Descale Process
The steps are similar across most Keurig brewers. The devil is in the button combinations.
- Unplug and empty everything. Turn the machine off and pull the plug. Remove any K-Cup, take the water filter cartridge out, and dump all water from the reservoir. Wipe the reservoir dry with a cloth. A wet reservoir dilutes your descaling solution before it even starts.
- Mix and fill. If using Keurig solution, pour the entire bottle into the empty reservoir, then fill the empty bottle with fresh water and add it to the reservoir. If using vinegar, make a 50/50 mix with fresh water and fill to the Max line. This creates the proper dilution.
- Enter descale mode. This is the model-specific step. For most Keurigs (K-Classic, K-Elite, K-Select), you press and hold the 8 oz and 12 oz brew buttons together for 3 seconds until the descale light flashes. For the K-Mini and K-Mini Plus, you simply turn the machine on, the descale mode activates automatically when the reservoir is attached. For the K-Express, you press the power button to turn it off, then press and hold the 8 oz and 12 oz buttons.
- Run the descaling brew. Place your large mug on the drip tray. Press the flashing brew button (usually the 12 oz button). Let the cycle run until the mug is full, then discard the hot solution down the drain. Do not drink it. Repeat this process until the Add Water light comes on. This usually takes 2-4 full reservoirs depending on your model’s size.
Common mistake: Starting the descale process with the water filter still installed, the acidic solution will destroy the carbon filter media, rendering it useless and potentially sending black carbon bits into your water tank.
- Let it soak. This is the step every rushed tutorial tells you to skip. Do not skip it. Once the Add Water light comes on, just walk away. Leave the remaining solution in the reservoir and let the machine sit, powered off, for 30 minutes. This dwell time lets the acid work on the scale welded to the interior of the thermoblock and the tiny water lines. Without it, you’re only cleaning the easy-to-reach surfaces.
- Dump and prepare to rinse. After 30 minutes, carefully remove the reservoir and pour any remaining solution down the sink. Rinse the reservoir thoroughly with fresh water. Refill it completely with fresh, clean water. You’re now ready for the most critical phase.
The Critical Rinse Cycle
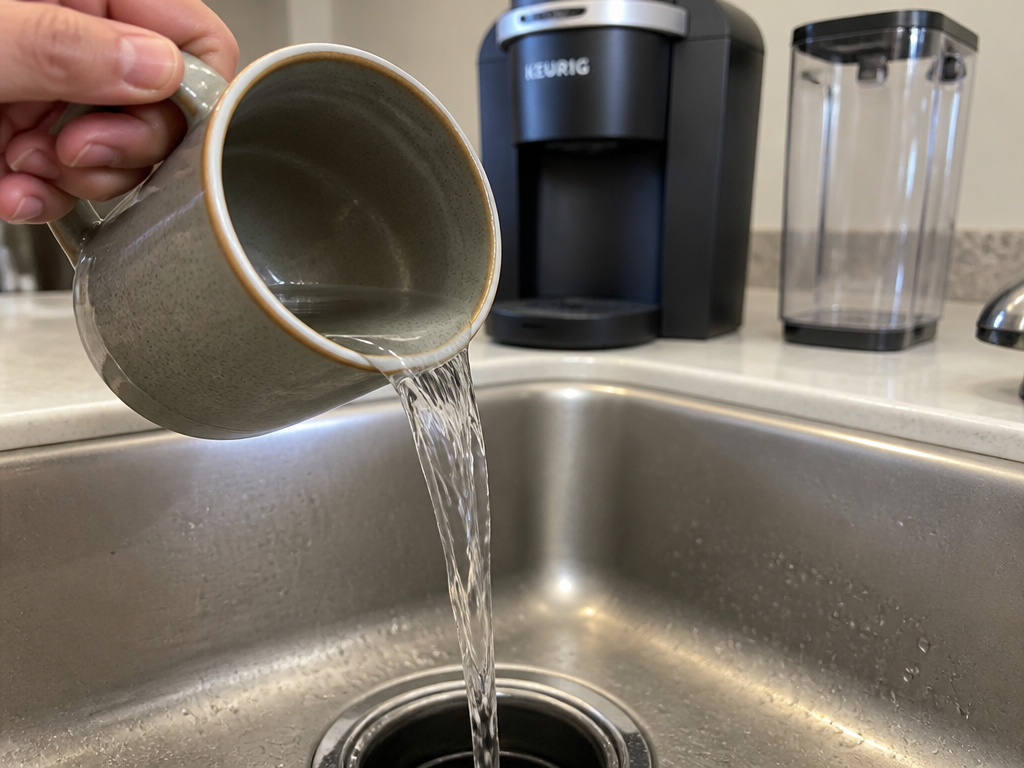
This is where the job is made or broken. You must remove every trace of acid.
Reattach the fresh-water-filled reservoir. The descale light should still be flashing. Press the brew button again. The machine will now run a cycle with plain water. Fill your mug, dump it down the drain, and repeat.
You must run at least 12 full brew cycles of fresh water.
Keurig’s manual states this explicitly. I have tested it. On a K-Elite with vinegar, I tasted a faint metallic tang at cycle 10. It was gone by cycle 13. The solution rinsed clean by cycle 11. Your palate may vary, but 12 is the bare safety floor.
I shortcutted to 8 cycles once on a K-Mini. The next three coffees tasted like I’d brewed them through a rusty pipe. The acid residue had nowhere to go but into the cup. Now I count to 12 out loud.
Why so many? The machine’s internal water pathway holds fluid between the reservoir, pump, heater, and outlet. A single brew cycle only replaces a portion of that volume. It takes multiple complete flushes to achieve total dilution.
TL;DR: Do not stop rinsing when the descale light turns off. Stop when you’ve completed 12 full brew cycles with fresh water. Your coffee’s taste depends on it.
Model-Specific Quirks and Resets
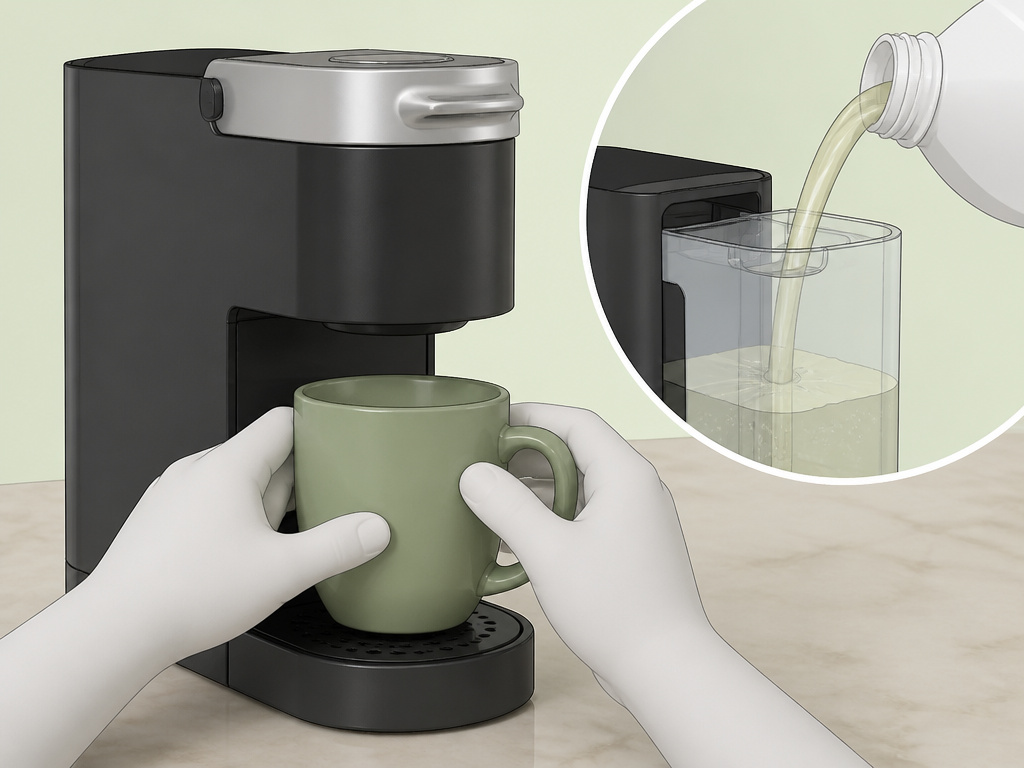
Not all Keurigs behave the same. The K-Mini series has a simplified routine but a finicky sensor.
For the K-Mini and K-Mini Plus, you don’t need a button combo. Just ensure the machine is off, fill the reservoir with the descaling solution, and plug it in or turn it on. The process starts automatically. The official guide says to run 5-8 rinse cycles afterward, but stick with the 12-cycle rule. The smaller reservoir means you’ll refill it more often during rinsing.
The K-Supreme series with its Multi-Stream Technology has more complicated internal lines. The descale mode is activated the same way (holding 8 oz and 12 oz buttons), but you may need to run more solution through it, sometimes the Add Water light takes longer to trigger. Be patient.
Before you start: The water and solution are very hot. Use a mug with a handle. Place the machine on a stable, level surface away from edges. Do not touch the heating plate or outlet during or immediately after brewing.
What if the descale light won’t turn off after rinsing? This usually means the internal water sensor is still detecting mineral traces or the machine needs a hard reset. Unplug it for two full minutes, then plug it back in. If the light persists, run two more rinse cycles. If it still persists, check the exit needle for coffee grounds blockage. A clogged needle can confuse the machine’s status lights.
How Often Should You Descale?

Keurig’s blanket recommendation is every 3 to 6 months. That range is useless without context.
The real schedule is set by your water hardness. You can find your local water hardness number with a quick online search for your city’s water quality report. If you have a hardness above 120 ppm (parts per million), you’re in the 3-month camp. Below 60 ppm, you can push toward 6.
There are two physical tells that you’re overdue.
First, the brew time slows down. A normal cycle takes about a minute. If it creeps toward 90 seconds, scale is restricting the flow in the thermoblock.
Second, the machine gets louder. The pump strains against the narrowed pathways, producing a higher-pitched whine.
Ignoring these signs has one endpoint: the heating element overheats and fails. Replacing it costs more than a new brewer.
For other brew methods, this maintenance is just as critical. Scale wrecks any appliance that heats water, from your Breville coffee machine filter housing to the boiler in an espresso machine. The principles of Braun coffee maker manual descaling instructions are nearly identical, circulate acid, soak, flush.
Frequently Asked Questions
Can I use lemon juice instead of vinegar to descale my Keurig?
No. Lemon juice is a weak citric acid, but it contains sugars and pulp that can gunk up the internal lines. It also lacks the consistent acidity of distilled white vinegar or descaling solution. Stick with the known agents.
The descale light is on but my machine is new. Why?
Some Keurigs have a simple timer-based reminder. It activates after a set number of brewing cycles, regardless of actual scale buildup. You can still run a descaling process, or you can often reset the light by holding the brew button for 10 seconds. Consult your Black & Decker coffee maker manual or other brand guide for similar reset procedures, many use the same logic.
My Keurig still tastes funny after descaling. What did I do wrong?
You likely didn’t rinse enough. Run another 5 cycles of fresh water through it. If the taste persists, the issue might be old coffee oils, not scale. Run a brewing cycle with just water and a Bunn coffee pot filters style paper filter placed in the mug to see if it catches any residual sludge. For a deeper clean, you need to disassemble and clean the exit needle assembly.
Is the descaling process the same for all Keurig models?
The chemical process is identical. The method to enter descale mode is not. Always check your manual. The button sequences for a K-Express, a K-Supreme, and a K-Mini are all different. Using the wrong sequence might just start a normal brew, wasting your solution.
Does descaling affect the coffee taste?
Descaling removes the scale that hurts taste by causing uneven heating and trapping old coffee oils. A properly descaled and rinsed machine should produce cleaner, brighter coffee. If your coffee tastes flat afterward, check your source beans and grind. A burr vs blade grinder produces a more consistent particle size, which is far more important for flavor clarity than a clean machine alone.
Before You Go
Descaling is not optional maintenance. It’s a direct trade between a half hour of your time and the hundred-dollar cost of a new coffee maker. The steps are simple: solution, soak, rinse. The commitment is in the rinse count.
Twelve cycles. Set a mug on the drip tray, press the button, dump it, and repeat. Do it while you’re loading the dishwasher or checking email. The difference between 8 rinses and 12 is the difference between a sharp, metallic aftertaste and a clean cup. Your choice of agent, vinegar or solution, just changes the margin for error.
Finally, remember that a descaled machine is only one part of the equation. The quality of your water and the freshness of your beans matter just as much. Whether you’re debating a blend vs single origin for your morning cup or choosing between an Americano vs drip coffee, it all starts with a clean machine.
