
How to Clean Your Coffee Maker with Vinegar in 20 Minutes
To clean a coffee maker with vinegar, first check your manual for the correct vinegar-to-water ratio and soak time, then run a brew cycle with the solution, pause it halfway to soak for 30-60 minutes, and finish with multiple clean-water rinse cycles. The universal 1:1 ratio works for most drip machines, but using the wrong concentration or skipping rinses can damage internal seals and leave a permanent taste.
Most guides treat every machine the same. They don’t mention that a Keurig K-Mini needs exactly 10 ounces of straight vinegar, or that pouring vinegar into a Bunn commercial brewer voids the warranty. The damage isn’t from cleaning. It’s from using a one-size-fits-all method on machines built to different specs.
This guide breaks down the exact ratios from manufacturer manuals, shows you where the community advice diverges for a reason, and walks through the rinse routine that actually gets the vinegar smell out. We’ll cover standard drip machines, single-serve pods, and the models where you should never use vinegar at all.
Key Takeaways
- Check the manual first. The Keurig K-Mini manual specifies 10 oz of straight vinegar; the Cuisinart DCC-1200 wants a 1:3 vinegar-to-water mix. Using the wrong ratio is ineffective.
- Remove charcoal water filters before starting. The filter will absorb the vinegar, reducing cleaning power and potentially tainting future brews.
- Never use vinegar on espresso machines with aluminum or brass boilers. The acid corrodes the metal. Use a citric acid-based descaler instead.
- The soak time is non-negotiable. Pausing the brew cycle halfway lets the vinegar dissolve mineral deposits. Rushing this step leaves limescale in the heating element.
- Run at least two full rinse cycles with fresh water. One rinse is not enough. Vinegar residue left in the lines makes your next pot of coffee taste sour.
Why Vinegar Works (And Where It Fails)
Vinegar cleans coffee makers because its acetic acid dissolves calcium carbonate—the main component of limescale. The acid breaks the mineral bonds holding scale to your machine’s heating element and water lines. It’s cheap and available.
It also attacks other things.
Common mistake: Using vinegar in an espresso machine with an aluminum boiler — the acid corrodes the metal, leading to pitting and leaks within 20-30 descaling cycles. The repair often costs more than the machine.
The community forums at Home-Barista.com are filled with stories of leaky groupheads and corroded boilers traced back to regular vinegar use. For espresso equipment, a dedicated, milder descaler like citric acid is the standard. The risk isn’t worth the few dollars saved.
For standard drip and pod coffee makers with stainless steel or plastic hot water tanks, vinegar is usually safe. The failure point is often the rubber seals and gaskets, not the tank itself. Prolonged or overly concentrated exposure can dry and crack those seals. That’s why following your model’s specific dilution and timing matters.
TL;DR: Vinegar’s acetic acid dissolves limescale in drip machines but can corrode aluminum and degrade rubber. Know your machine’s materials.
The Universal 1:1 Vinegar Method (And When to Ignore It)
The most repeated method is a 50/50 mix of white vinegar and water. For a standard 12-cup drip coffee maker, that means 6 cups of vinegar and 6 cups of water. You run half a brew cycle, let it soak for an hour, finish the cycle, and rinse.
It works. For many machines, it’s fine.
Fill the water reservoir with equal parts white vinegar and cold water. Initiate a brew cycle without coffee or a filter. Interrupt the cycle midway to allow a 30-60 minute soak, then complete the brewing process. Follow with multiple fresh water rinse cycles to eliminate residual vinegar.
That’s the technical snippet target. It’s the baseline.
The problem is the soak. Most people turn the machine off and walk away, but they don’t check if the solution is actually sitting in the critical areas. If your machine has an anti-drip valve or a complex internal path, the vinegar might drain back into the carafe, leaving the heating element dry. You’ll soak the carafe, not the machine.
You need to listen. After you pause the cycle, wait a minute. If you hear dripping into the carafe, the valve isn’t sealed. Pour the vinegar water from the carafe back into the reservoir and let it sit. It’s messy. It’s also the only way to ensure contact.
And you must remove the charcoal water filter first. Every manual says this. The Keurig guide for the K-Mini states it on page 13. The filter absorbs the vinegar, which wastes the solution and saturates the filter with acid. Your next dozen cups will taste off.
TL;DR: The 1:1 method works if you verify the soak and remove the water filter. Listen for drips after pausing.
Machine-Specific Ratios and Rules
Your coffee maker’s manual isn’t a suggestion. It’s the result of testing against that specific model’s tubing diameter, heating element wattage, and pump pressure. Deviating can lead to inadequate cleaning or component stress.
| Coffee Maker Model | Vinegar Solution | Soak Time | Critical Note |
|---|---|---|---|
| Keurig K-Mini / K-Mini Plus | 10 oz undiluted white vinegar | Brew half, soak 30 min? | Manual specifies 10 oz vinegar then three 10 oz water rinses. Soak time inferred. |
| Cuisinart DCC-1200 | 1 part vinegar to 3 parts water | 20 minutes after brewing | Let solution sit in system for 20 minutes post-brew for full effect. |
| Hamilton Beach 46310 | Undiluted white vinegar | 30 minutes (after brewing half) | Brew half the reservoir, then soak. Complete cycle, then 2-3 water rinses. |
| Bunn Speed Brew Classic (GRB) | Not recommended | N/A | Manual specifies “BUNN delimer” only. Using vinegar may void warranty and damage parts. |
The Bunn exception is critical. Its commercial-grade design uses different materials and a faster, pressurized brewing system. The manual doesn’t even list vinegar as an alternative. Pouring vinegar into a Bunn is a gamble with expensive parts.
For a Braun coffee maker manual or a Black & Decker coffee maker manual, the process is usually similar to the universal method, but the exact capacity matters. Always measure. “Filling the reservoir” with a 1:1 mix in a 10-cup machine uses less vinegar than in a 12-cup machine.
The takeaway is to look it up. A quick search for your model’s PDF takes two minutes and prevents a repair bill.
The Step-by-Step Vinegar Cleaning Process
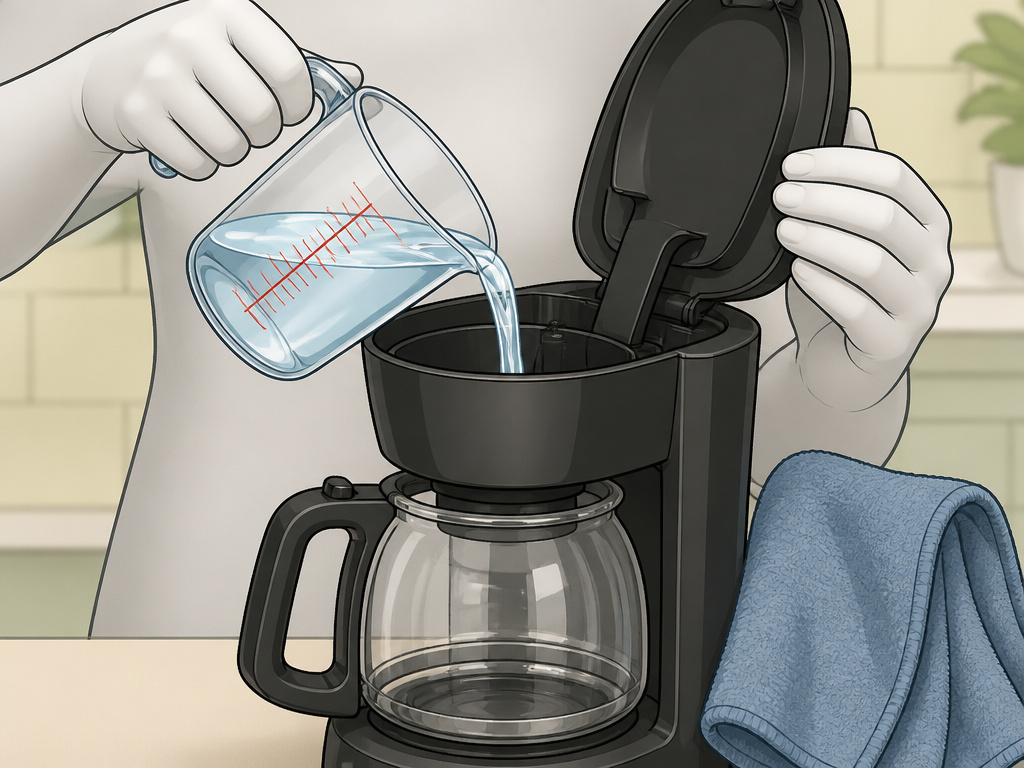
Gather white distilled vinegar, fresh water, a measuring cup, and a clean towel.
- Empty and Prep the Machine. Remove any old coffee grounds, the filter basket, and the carafe. Wash the carafe and basket with warm soapy water. Locate and remove the charcoal water filter from the reservoir. If your machine has a built-in grinder or milk system, consult its manual separately.
- Add the Correct Vinegar Solution. Refer to your manual or the table above. For a standard drip machine without specific instructions, use the 1:1 ratio. Pour the mixed solution into the empty water reservoir.
- Start, Then Pause the Brew Cycle. Place the empty carafe back on the warming plate. Start a brew cycle as if making coffee (with no coffee or paper filter). Let it run until about half the solution has brewed into the carafe, then pause or turn off the machine.
- Soak for 30-60 Minutes. This is where the descaling happens. Set a timer. If you hear dripping, the internal valve is leaking. Pour the liquid from the carafe back into the reservoir to maintain the soak.
- Complete the Brew Cycle. After the soak, turn the machine back on to finish brewing the remaining vinegar solution into the carafe. Discard this hot, vinegary water.
- Rinse—Twice, at Minimum. Fill the reservoir to capacity with fresh, cold water. Run a complete brew cycle with the empty carafe in place. Dump that water. Repeat this rinse cycle a second time. For stronger vinegar smells, a third rinse may be necessary.
- Final Clean and Dry. Wash the carafe and filter basket again. Wipe down the machine’s exterior and the reservoir with a damp cloth. Run one final short brew cycle with just water to flush any last traces, then leave the lid open to air dry.
Skipping the second rinse is the most common error. You’ll taste it in your morning cup. The sour note isn’t your beans—it’s leftover acetic acid.
What Not to Clean with Vinegar
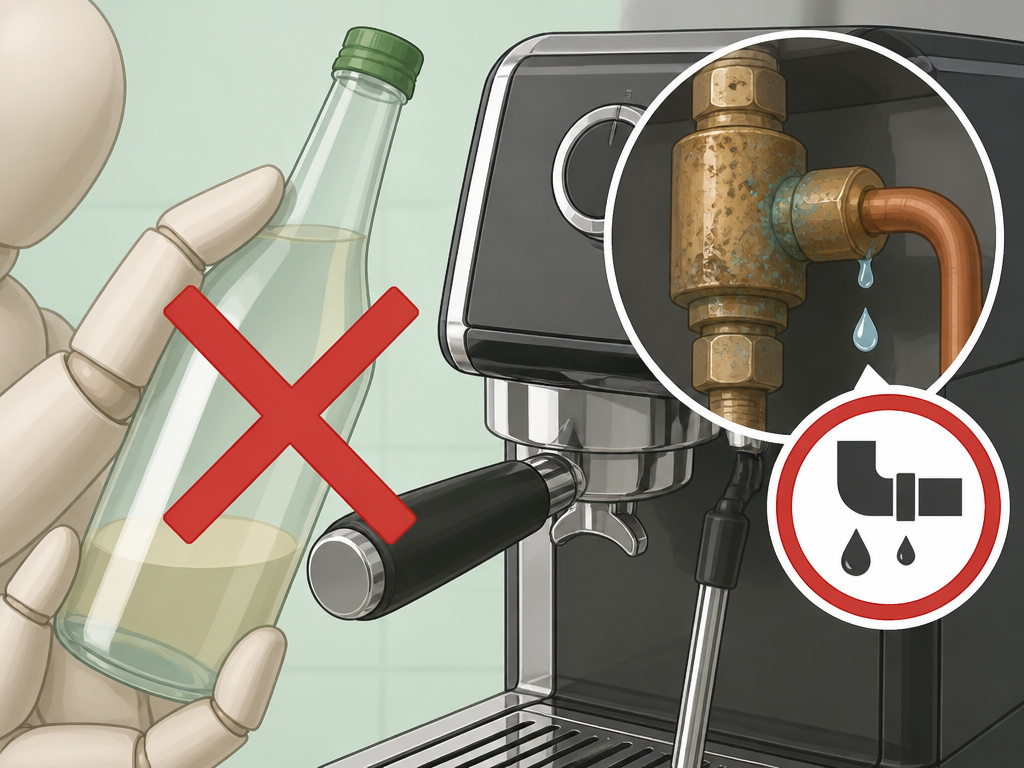
Vinegar is not a universal descaler. Its acidity makes it aggressive against certain metals and seals.
- Espresso Machines: This is the biggest no. Most home espresso machines, especially those with aluminum or brass boilers, are corroded by acetic acid. The damage is often gradual, causing leaks or metallic tastes long before a complete failure. Use a citric acid-based descaler like Dezcal or Urnex.
- Bunn Commercial Brewers: As noted, models like the Speed Brew Classic require proprietary deliming solutions. Vinegar can damage internal seals and tubes not designed for it.
- Coffee Makers with Integrated Grinders: Only descale the water system. Never run vinegar through the burrs or blades of a built-in grinder. It will rust metal components and leave an irreparable smell. For grinder maintenance, use specialized grinder cleaning tablets or dry rice.
- Any Machine with a “Do Not Use Vinegar” Sticker or Manual Warning: Some newer models with specialized coatings or sensors explicitly warn against vinegar. Heed it.
If you own a semi-automatic machine and are serious about espresso-based drinks, your cleaning regimen is different. It involves backflushing with cafiza and descaling with a dedicated product. Vinegar has no place in that routine.
Troubleshooting a Post-Vinegar Coffee Maker
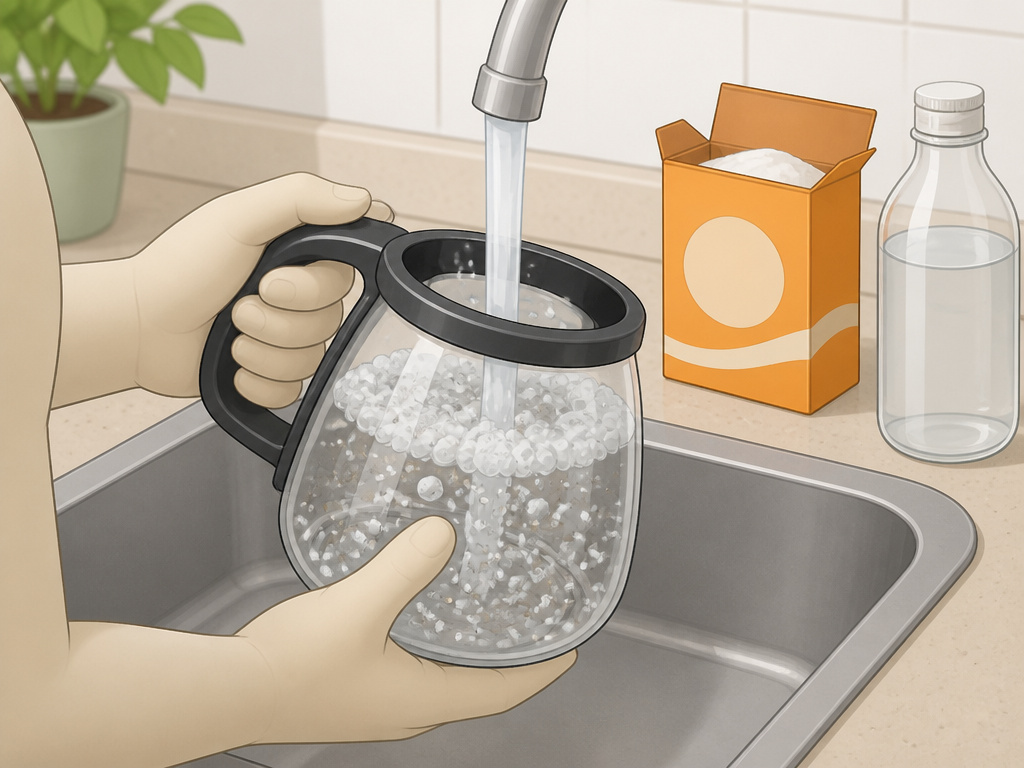
You ran the cycles, but something’s off. Here are the fixes.
- It Still Smells Like Vinegar. You didn’t rinse enough. Run two more full reservoir rinse cycles with cold water. If the smell persists, try a cycle with baking soda (a tablespoon dissolved in a full reservoir). The baking soda neutralizes residual acid.
- Coffee Tastes Sour or Funny. This is either vinegar residue or a contaminated charcoal filter you forgot to reinstall. Run the baking soda rinse above. If you use a Breville coffee machine filter or other permanent filter, give it a separate soak in a baking soda solution.
- The Machine is Slower After Cleaning. This is rare, but possible. Chunks of dislodged scale can clog the small outlet tube or anti-drip valve. Consult your machine’s manual for instructions on accessing and cleaning this valve. For many, this is a job for a Braun machine support or Black & Decker troubleshooting guide.
- White Residue in the Carafe After Rinsing. This is likely mineral particles from dissolved scale. It’s harmless. Just wash the carafe with soap and water. It means the vinegar worked.
TL;DR: Lingering smells mean more rinsing. Funny tastes mean check the filter. Slow brewing means check for debris.
Frequently Asked Questions
Can I use apple cider vinegar to clean my coffee maker?
No. Stick with plain white distilled vinegar. Apple cider vinegar contains sugars and organic compounds that can leave a sticky residue and promote mold growth inside your machine’s internal tubes.
How often should I clean my coffee maker with vinegar?
Most manufacturers recommend descaling every 3 to 6 months. If you have very hard water, lean toward every 3 months. You’ll notice slower brewing times or a change in coffee taste when it’s due.
Is it safe to use vinegar in a Keurig?
Yes, for most Keurig models, but you must follow their specific instructions. For the K-Mini, that’s 10 oz of undiluted vinegar followed by three 10 oz water rinse brews. Always remove the water filter first.
What’s the difference between cleaning and descaling?
Cleaning removes coffee oils and residues from the carafe, basket, and exterior. Descaling removes invisible mineral scale (limescale) from the internal heating element and water pathways. Vinegar is primarily a descaling agent.
What can I use instead of vinegar?
Citric acid powder is a common, effective alternative. Mix one tablespoon with a liter of water. For espresso machines, a commercial descaler like Dezcal is the only recommended choice. For an in-depth look at other methods, see our guide on coffee brewing methods and maintenance.
The Bottom Line
Cleaning your coffee maker with vinegar is effective, cheap, and simple—if you follow the rules for your specific machine. The universal 1:1 ratio is a good start, but the real answers are in your manual. Measure the vinegar, respect the soak time, and never skimp on the rinse cycles.
Remember the exceptions. If your machine has an aluminum boiler or is a commercial Bunn, vinegar is the wrong tool. Reach for a dedicated descaler. And always pull that charcoal filter out before you start. That one step, missed by most, is the difference between a fresh brew and a pot that tastes like salad dressing for a week.
