
How to Clean a Coffee Grinder | The Manuals Everyone Skips
To clean a coffee grinder, you need to remove all coffee beans, disassemble the burr set according to your model’s manual, and use dry brushing and vacuuming, never water, to clear out all grounds and oils. The Breville Barista Express manual specifies cleaning its burrs after every 200 shots; skipping this lets oils turn rancid and your coffee will taste musty within a month.
Most people grab a damp cloth and think they’ve cleaned their grinder. They wipe the outside and call it a day. The real mess is inside, where old grounds and coffee oils hide. Those oils don’t just sit there. They go bad.
This guide walks through the dry methods every manufacturer demands. We’ll cover the specific tools, the step-by-step disassembly for common models, and what happens when you ignore the manual’s warnings.
Key Takeaways
- Never use water or liquid cleaners on burrs or the grinding chamber. It causes rust and damages the motor. The Mahlkönig EK43 manual states this explicitly.
- Clean frequency is model-specific. The Breville Barista Express manual says every 200 shots. For daily home use, that’s about once a month.
- Dry mechanical cleaning is mandatory. A nylon brush and a vacuum are your primary tools. Grinder cleaning tablets (Grindz) are a shortcut, not a replacement.
- Flavored beans require a sacrificial grind. Oils from vanilla or hazelnut beans cling and will taint your next five batches of regular coffee if you don’t purge the system.
- Reassembly alignment is critical. Misaligned burrs produce an inconsistent grind and can chatter loudly on the next use.
Why Your Grinder Tastes Like an Old Fish Market
Coffee beans contain oils. After grinding, a fine, oily dust coats every surface inside your machine. Left alone, those oils oxidize. They turn rancid.
The smell is unmistakable, sour, stale, vaguely fishy. That odor transfers directly to your next batch of freshly ground beans. You can buy the best single-origin beans, but if your grinder smells off, your cup will too. This is the core reason cleaning isn’t about aesthetics. It’s about flavor preservation.
Old coffee oils rancidify at room temperature within 3–4 weeks. The resulting compounds are volatile and bond easily with fresh coffee grounds, imparting a stale, sour note that no brew method can correct.
TL;DR: Rancid coffee oils inside your grinder make your fresh beans taste stale and sour. Cleaning removes the source.
The Tools That Actually Work (And One That Doesn’t)
You don’t need a specialty kit. You likely already have the right tools. The wrong one can void your warranty.
| Tool | Purpose | Risk If Misused |
|---|---|---|
| Small nylon brush | Dislodges caked grounds from burrs and chamber ribs. | Metal bristles can scratch burr coating, creating pockets for oils to hide and accelerating wear. |
| Handheld vacuum with crevice tool | Removes loose grounds from deep in the chute and chamber floor. | A shop-vac’s high power can dislodge and suck up small plastic alignment tabs if you’re not careful. |
| Dry microfiber cloth | Wipes the external hopper and grounds bin. | A damp cloth introduces moisture to the bean chamber, risking clumping and mold. |
| Grinder cleaning tablets (Grindz) | Absorbs and scours away oily residue between deep cleans. | Over-reliance without physical cleaning leaves a fine powder residue that mixes with fresh grounds. |
The tool you should never reach for is a wet cloth, spray cleaner, or compressed air. Water causes corrosion on steel burrs. Compressed air blows fine dust deeper into the motor housing. Both are called out as prohibited in manuals like the one for the Baratza Encore.
Your coffee maker maintenance guide will have different rules for the brewer, but the grinder is a dry system.
Step-by-Step: The Brush-and-Vacuum Method
This is the full disassembly clean. It takes fifteen minutes and is the only way to reset a grinder that’s been neglected for months.
Before you start: Unplug the grinder. Have a clean, dry workspace. Lay out parts in order of removal. If your model has a removable hopper, take it off first.
1. Empty and Clean the Hopper
Dump all beans into an airtight container. Wash the hopper with warm, soapy water if it’s separate, but dry it completely before even thinking about reinstalling. A single drop of water inside the grinder is a problem.
2. Vacuum the Loose Grounds
Use the crevice tool on your vacuum to reach into the grinding chamber and the exit chute. Get as much as you can. You’ll be surprised by the volume that comes out.
Common mistake: Skipping the pre-vacuum, brushing first just pushes loose grounds deeper into the chute, where they harden into a plug that affects dose consistency.
3. Remove the Burr Set
This step is model-specific. For a Baratza Encore, you simply lift the hopper off, then pull the top burr carrier straight up. For a Breville Smart Grinder Pro, there’s a locking handle you raise and turn. The resistance tells a story. If it hasn’t been cleaned in a year, it will be stiff from compacted grounds acting as glue.
4. Brush Everything You Can See
Use your nylon brush on the removed burr. Brush the ceiling of the grinding chamber. Brush the sweepers and the chamber walls. Pay attention to the ribs and grooves. This is where the cake builds. Brush the burr carrier’s underside. Brush until no more dark dust comes off.
5. The Second Vacuum Pass
Now that the chamber is empty and brushed, vacuum it again. This gets the dust you just knocked loose. It also cleans the chamber floor, which is often inaccessible with the burrs in place.
6. Reassemble With Care
Place the burr set back exactly as it came out. Look for alignment marks, a dot on the carrier matching a dot on the chassis, or arrows. Misalignment causes burr rub, a high-pitched grinding sound, and uneven particle size. Lock the mechanism. The Breville handle should click down. The Baratza carrier should seat flush.
7. Run a Sacrificial Grind
Before using your good beans, grind about 5 grams of the cheapest, most neutral coffee you have. This clears any leftover dust or brush filaments from the chamber and chute. It’s the final reset.
TL;DR: Unplug, vacuum loose grounds, remove and brush burrs, vacuum again, reassemble correctly, then run cheap beans through to purge the system.
When to Use Grinder Cleaning Tablets
 Products like Grindz or Urnex cleaning tablets are a topic of debate. They’re made of food-grade granules designed to absorb oils and scrub the chamber as they grind through. They are not a substitute for disassembly.
Use them for maintenance between deep cleans, say, every other week if you grind daily. They are particularly useful if you’ve run blonde roast coffee beans or other oily beans through, as they help cut that residue. The process is simple: run the tablets through as if they were beans, then run a small amount of inexpensive coffee to clear the residue. Do not skip the purge grind. The tablet powder tastes terrible.
They are a convenience, not a cure. If your grinder already has a rancid smell, only physical removal of the caked oils will fix it. Think of tablets like brushing your teeth between dentist visits.
The Two Edge Cases That Break the Rules
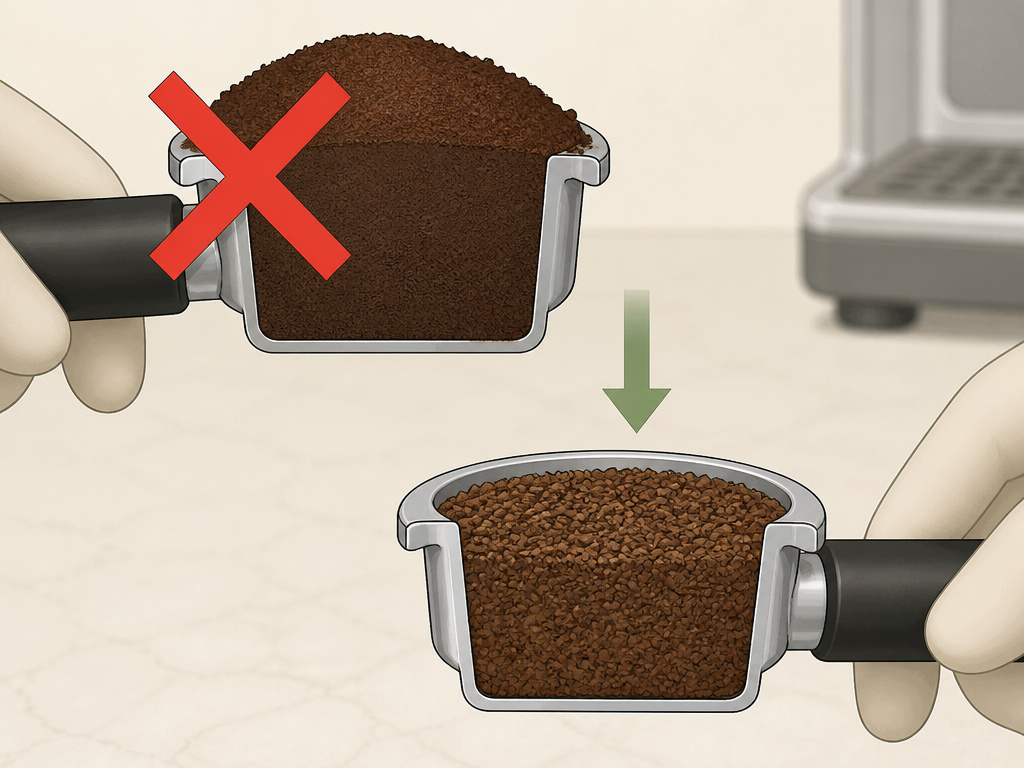 Standard cleaning works for standard beans. Two scenarios demand extra steps.
Grinding Flavored Beans
Vanilla, hazelnut, or chocolate-flavored coffees use synthetic oils that coat the burrs and chamber with a tenacious, fragrant film. A standard brush-and-vacuum often isn’t enough. After cleaning, you must run a sacrificial grind of at least 10 grams of plain, inexpensive coffee. Some pros even use a spoonful of uncooked rice as a gentle abrasive, though this is controversial and not recommended by manufacturers. The goal is to absorb and carry out the flavored oil residue. If you don’t, your next several batches of unflavored coffee will carry a faint, confusing hint of artificial vanilla. It’s a common frustration in online forums.
High Humidity Environments
In consistently humid climates, ground coffee clumps and sticks aggressively. Dry brushing becomes less effective, and moisture accelerates oil rancidification. The fix is more frequent cleaning, perhaps every two weeks instead of monthly. Consider storing your grinder (unplugged) in a cabinet with a desiccant packet if possible. The goal is to keep the internal environment as dry as the manuals assume it is.
How Often Should You Clean? The Manuals Have Numbers.
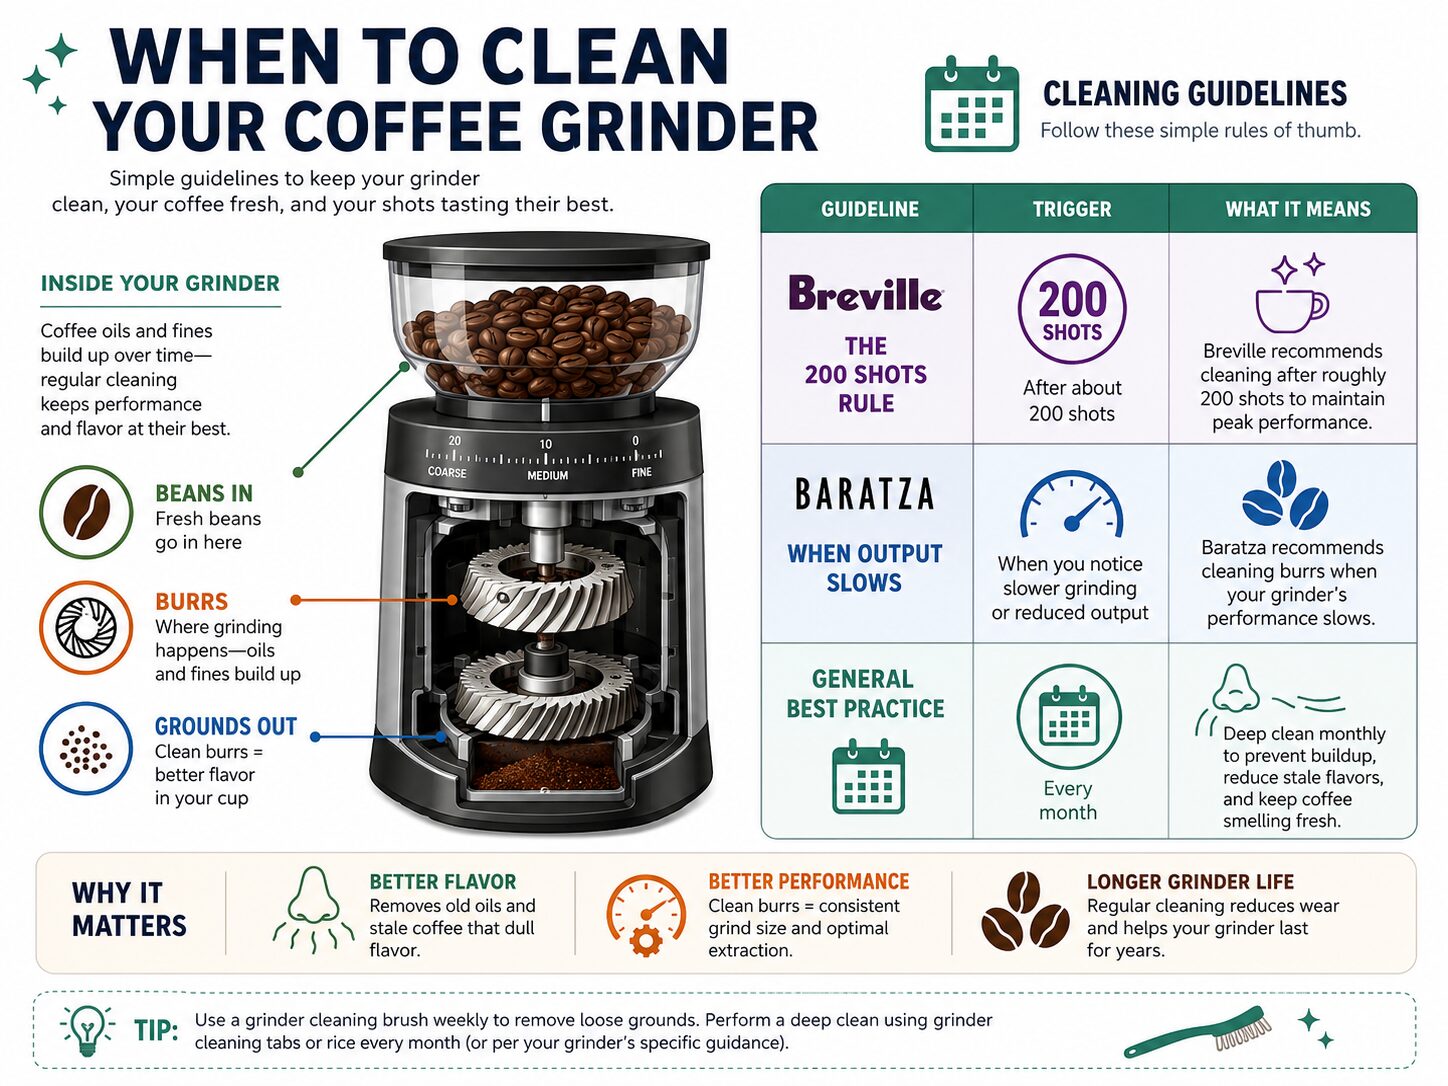 Don’t guess. The manufacturers spent time writing these specs for a reason.
| Grinder Model | Recommended Cleaning Frequency | Source |
|---|---|---|
| Breville Barista Express/Pro | After every 200 shots | Breville Barista Express Manual, page 22 |
| Baratza Encore/Virtuoso+ | No fixed interval; clean when grounds output slows or taste changes | Baratza Encore Manual, page 10 |
| Mahlkönig EK43 | Regularly; depends on usage | Mahlkönig EK43 Manual, page 12 |
| Fellow Ode Brew Grinder Gen 2 | Designed for easy access; implies regular cleaning | Fellow Ode Product Page |
The Breville’s “200 shots” is the most specific directive. For a two-shot-a-day household, that’s a clean every three months. In practice, for any grinder used daily, a monthly deep clean prevents problems. Your nose is a good guide. If the empty grinder smells off, it’s time.
This scheduled care is similar to following a Braun coffee maker care routine for your brewer, preventative maintenance beats repair.
Why You Never, Ever Use Water
This point cannot be overstated. Every manual from Baratza, Breville, and Mahlkönig includes a version of this warning: “Never use water or cleaning agents to clean the grinding discs or the grinding chamber.” The why-layer is simple. Steel burrs are susceptible to rust. Even stainless steel alloys can corrode at the microscopic level where the burrs meet. Rust changes the burr geometry, ruining grind consistency. Water can also seep into the motor bearings or onto electrical contacts, leading to failure. If your hopper is separate and made of plastic, it’s safe to wash. Dry it thoroughly, let it sit for an hour, before reattaching. The grinding chamber itself, however, is a dry zone.
Common mistake: Using a damp brush or cloth on the burrs, the residual moisture promotes rust at the burr’s cutting edges, leading to pitting and uneven grinding within a few weeks.
Frequently Asked Questions
Can I use rice to clean my coffee grinder?
Some people do. Uncooked rice is a hard, dry abrasive that can help scrub away caked oils. However, it’s controversial. Manufacturers do not recommend it, as it can be too abrasive for some burr coatings and may leave starch dust behind. A dedicated grinder cleaning tablet is a safer, designed-for-purpose alternative.
How do I clean a blade grinder?
The process is different and often simpler. Unplug it, discard old grounds, and wipe the interior with a dry brush or cloth. Some have a removable blade assembly you can brush. Never submerge the base. For a deeper look at the differences, our article on burr grinder vs blade grinder covers maintenance for both types.
My grinder still smells after cleaning. What now?
You likely have residual oils in the plastic chute or grounds bin that brushing didn’t reach. Remove the grounds bin and wash it with warm, soapy water. For the chute, try a dry cotton swab. If the smell persists, the oils may have permeated the plastic over a long period. Continued cleaning and use of neutral beans will eventually reduce it.
Do I need to clean a new grinder before first use?
Yes. Factories use lubricants and there can be metal or plastic dust inside. Run about 20 grams of cheap coffee through it and discard the grounds. This “seasoning” grind cleans the chamber and coats the burrs with a protective layer of coffee oil.
Can I clean my grinder too often?
For mechanical brushing and vacuuming, no. You won’t hurt it. The only risk is from the disassembly and reassembly process itself, over time, plastic tabs can wear. Stick to the manufacturer’s guidance or a monthly schedule. Overusing cleaning tablets is wasteful and can leave residue if not purged properly.
Before You Go
Cleaning your coffee grinder isn’t a periodic chore. It’s a non-negotiable part of the brewing process. Rancid oils don’t negotiate. Stick to dry tools, the brush and the vacuum. Follow your model’s specific disassembly steps. Mark your calendar with the Breville’s 200-shot rule or set a monthly reminder. And never, under any circumstance, let water near the burrs. Your next bag of beans will thank you. The first sip will be cleaner, brighter, and absent that faint, lingering ghost of last month’s stale grind. That’s the real reward.
